Day and weekend tramps are both a blessing and a curse. They’re great in terms of getting an outdoor fix, but they often leave you longing for more. The good news is, for trampers with a couple of overnight tramps under their belts and a few days of annual leave to use, an extended tramp is certainly achievable.
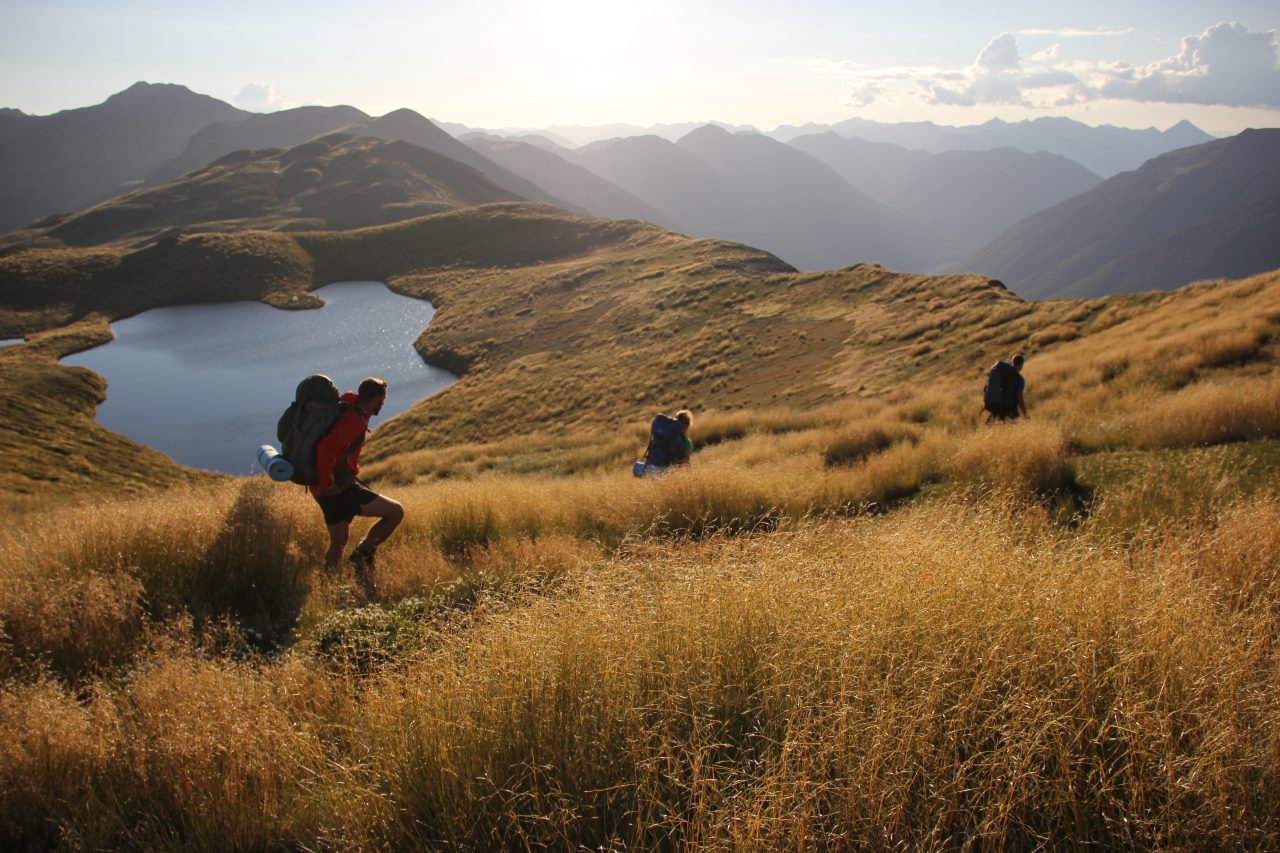
Multi-day tramps sometimes require convoluted logistics, but the experience of being in the hills for days on end more than makes up for it. Between four and six days is ideal: enough time to cover a decent distance and to feel at home in a landscape, but not so long that you come home bone-tired and speaking gibberish.
Navigation: It’s unlikely your phone app will last the length of your trip, so go old school and purchase a topo map covering the area you’re off to. Essential map-related skills include orienting the map (using both a compass and natural features), rattling off a grid reference, and pinpointing your approximate location. A map is no good to you stuffed halfway down your pack, so get into the habit of bringing it out at each rest stop and working out where you are. A ziplock bag will keep it dry.
River crossing: On a longer trip it’s likely you’ll need to cross a river at some stage. Any river, regardless of its size, should be treated with respect. The mutual support method of river crossing works with as few as two people. Learn the signs of a river that’s not safe to cross (your best bet is to first attend a bushcraft course run by a tramping club or Outdoors Training NZ) and if in doubt, don’t enter the water. Head to the nearest bridge, change your route or wait for the water level to drop.

Emergency survival: While nobody intentionally sets out to get lost, accidents do happen. Know what to do if you get separated from your group or caught out overnight. Essential skills include how to build an emergency shelter, how to light a fire and how to make yourself visible to a helicopter. If carrying a tent, be conversant with how to pitch it.
First aid: If mishap strikes in the middle of a six-day tramp, you could be three days’ walk from the nearest road end. While most people know the basics of first aid, an outdoor first aid course will teach you the skills needed to keep a patient safe and comfortable during what could be a long wait for rescue. At the very least, brush up on how to treat sprains, scrapes and dehydration.
Before the trip
Learn on the go: Your local tramping club contains a wealth of knowledge. Join in for a few tramps or turn up to a club meeting. Don’t be shy: trampers are a friendly bunch and don’t need much prompting to share tips, tricks and stories from the trail.
Study up: A few hours spent planning your route at home pays dividends in the hills. Tramping guidebooks, trip reports and DOC offices provide vital information about track conditions, expected travel times and points of interest. It goes without saying that you should check the weather forecast before you leave, but understand that it may change over the course of your trip.
Multi-day tramps don’t necessarily require a greater level of fitness than a weekend tramp, but you should be prepared to carry a heavier pack for a longer distance. Expect to be carrying your pack for between four and seven hours a day for the duration of the trip. At the very least, do one or two day trips of that duration before you go.
Try these fitness tips
Run up hills Tramping in New Zealand almost always sends you uphill, so it’s only logical that running uphill will help you prepare for your next tramp.It will build strength and stamina in your legs and it’s a good way to improve your aerobic capacity
Run up stairs Can’t find a hill? Find a set of stairs – try sports arenas or office buildings. The latter has the added benefit that you can just take a 15-minute break from work to sprint up the stairs. Focus on running as fast as you can without running out of breath or having to stop.

Running up stairs will strengthen your legs and boost stamina. Photo: Tony GazleyLunges and squats with extra weight If you’ve found yourself at the bottom or the top of a steep climb, you’ll know that wobbly feeling in your legs when your thighs and calves have worked tirelessly to keep you moving. Lunges and squats are a great way to build strength in these essential muscles.
Run barefoot on the beach Running barefoot requires the finer foot muscles to help you move and keep you balanced, making it a good way to improve the strength in your ankles and feet. Running barefoot on the beach is physically harder, because the sand gives way as you move, and creates a softer landing for your feet and knees, so you’re less likely to get injured.
Balance on one leg with your eyes closed Balancing on one leg can achieve the same benefits as running on the beach with the added advantage of improving your balance for those tricky river crossings and uneven terrain.
If you’ve done some weekend tramping, you won’t need much extra gear. In addition to the obvious (pack, tent, cooking equipment and a sleeping bag) you will need:
Clothing: A good rule of thumb is to take two sets of clothes (one for daytime and the other for the hut or campsite) plus an extra set of thermals for good measure. Several thinner layers (not cotton) are warmer than one thick one. It is inevitable that after wearing the same clothes for a few days you will become quite fragrant – luckily, the rest of your group will smell the same!
For daytime, pair a synthetic or merino T-shirt with a pair of quick-drying shorts or trousers that zip off at the knee. If it’s wet or cold, add a polypro or merino thermal long sleeve top and long johns, then top off with a fleece or insulated jacket, waterproof jacket, beanie and gloves. Gaiters and overtrousers will protect legs from scratches and add additional warmth.
If you get wet or damp during the day, resist changing into your dry clothes until the day’s end. When setting off the following day, change back into the clothes worn the previous day.
For around the hut and campsite, two pairs of thermal longjohns are a lightweight alternative to trackpants. A long sleeve thermal coupled with a fleece and beanie is usually enough in summer. Insulated jackets are ideal for cold conditions and pack up small. A pair of Crocs or jandals are a treat for sore feet, and save pulling on wet boots for a short trip to the loo.
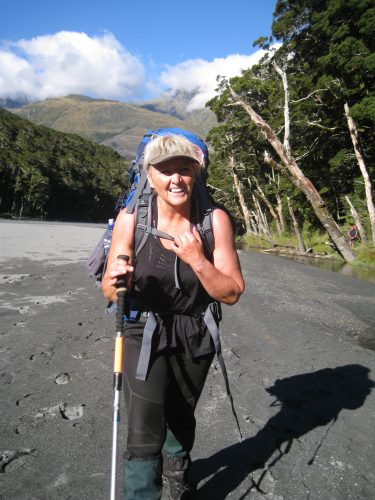
Boots: Footwear can make or break a tramp, so take the time to get boots that fit well. Most outdoor shops stock a wide range of brands and styles and have staff who are well trained in boot fitting. Because you’re just starting out, a pair of three-season boots should be enough for the type of trips you plan to do. A good pair of socks will reduce the risk of blisters.
Safety essentials: Cellphones don’t work in remote areas, so carry a personal locator beacon. A packliner keeps your kit dry, but also makes for a good emergency shelter. A small first aid kit containing strapping tape, bandages, painkillers, electrolyte powder, alcohol wipes, gauze, bandaids and blister protection should be enough for the common ailments.
Food: Meals need to be nutritionally balanced, easy to cook, lightweight and not at risk of spoiling inside your pack. Excess packaging can be removed to reduce bulk and weight.
Some trampers find it helpful to ration food into a separate bag for each day. An extra day’s worth of food should be carried, and clearly labelled so it isn’t inadvertently eaten by a peckish party member on day three.
Boot fitting
When to use your PLB
Distress beacons should be used in life-threatening situations. RCCNZ advise people to err on the side of caution and to activate their PLB with plenty of daylight; they would much rather send out a rescue team in daytime rather than in the middle of the night.
Choosing a multi-day pack
There are probably as many opinions about packs as there are styles on the market. Ask friends and family for opinions, but don’t get too hung up on brand or style. Set aside half a day to visit the outdoor retailers in your area and try on all the packs they have in store. Don’t be shy – it’s what the staff are paid for. Capacity-wise, 50- to 80-litres works for most people.
Give your new a pack a test run on a shorter trip, and ensure it is fitted correctly for comfort and posture before embarking on your first multi-dayer – a poorly fitting pack will likely ruin your experience.
Fitting the pack correctly
Packing and organising your gear
Every tramper packs their gear differently, and over time you’ll develop your own system.
If possible, have all the day’s essentials within easy reach and keep heavier, less frequently-used items at the bottom. My system looks something like this:
You can also use large snaplock bags, lightweight dry bags or packing cells to organise gear inside the pack. It’s a lot easier to pull out three packing cells to get to your extra snacks than it is to upend your whole pack looking for that elusive chocolate bar.
Tania McMillan recently joined the Otago Tramping and Mountaineering Club (OTMC) to gain bushcraft skills so she could gain confidence for longer, multi-day tramps. Since joining, she’s met a group of people in her skill level and has started training for bigger objectives.
To prepare for bigger tramps, she’s honing her navigation skills by practising on each hike and learning from others in the club. She’s also building her fitness and confidence by climbing at her local indoor climbing gym.
“I’ve discovered I’m a bit wary of heights, but it’s only due to a lack of practical experience. So, the indoor climbing wall is brilliant to build up my balance and climbing muscles – and confidence.”
Even though she’s not coming across vertical climbs on the trail, McMillan said it still helps. “I should be able to tackle obstacles with more grace,” she says.
She’s also hiking regularly to build strength.
“Fitness is the one thing you do have control of. The fitter you are, the more likely you are to enjoy challenges,” she says.
In addition to the physical training, she’s also renewing her first aid training, and getting new gear – including a lightweight tent – for her longer trips. She’s also purchased a new pair of tramping boots, which she’s been wearing around the house to break in.
Her trip planning is now more methodical; she talks to people who’ve done the trip before to get advice, pores over topo maps, and studies the terrain so she knows what to expect.
Her bucket list for upcoming multi-day tramps include Stewart Island and the Heaphy Track, which she plans to do with members from her tramping club.

34 years of inspiring New Zealanders to explore the outdoors. Don’t miss out — subscribe today.

Questions? Contact us