
Tramping gear is not cheap, but it can last a lifetime if given the proper care and maintenance. Matthew Cattin learns how to make your favourite bits of kit last longer.
Keeping the rain out
Waterproof shells can be literal lifesavers in the backcountry, yet many trampers go years without giving them a wash – perhaps because it’s easy to maintain the illusion that they’re clean.
Fairweather trampers may seldom get them out of their packs, and the occasional sprinkle of rain will keep them sparkling and bright. It’s only under hard use on muddy and overgrown tracks that they’re likely to become dirty.
But external grubbiness isn’t going to cause as many problems as what’s going on underneath, says Jane Ellis from Kiwi outdoor company Earth Sea Sky .
“The worst thing for any breathable waterproof fabric is contamination on the inside,” Ellis says.
Body oils and salt, and chemicals such as sunscreen and bleaches can wreak havoc on your rainwear.
“If it’s left unwashed, over time it will cause delamination, and the area that will be particularly at risk will be around the neck and hood,” Ellis says. “It’s important to wash any waterproof, breathable fabric, and often people don’t understand that.”
Ellis recommends hand washing waterproof gear in a mild detergent, and drying it on the line in a warm place out of direct sunlight.
The fabric trampers wear beneath their rainwear can also make a difference to performance, Ellis says, and synthetics can be better for your rainwear than natural fibres, such as merino.
“Your body oil will go into any clothing you wear underneath, but because natural fibres hold onto moisture and don’t disperse it, it can lead to overloading [of your rainwear],” Ellis says.
Eventually, trampers may find that water no longer beads on the surface of their rainwear, but instead soaks through and saturates the fabric.
This is an indicator that the durable water repellent coating (DWR) has been compromised.
If so, wash the garment as above, and if the problem persists, a waterproofing treatment will need to be applied.

If a raincoat is functioning, water will bead on the surface. Photo: Matthew Cattin
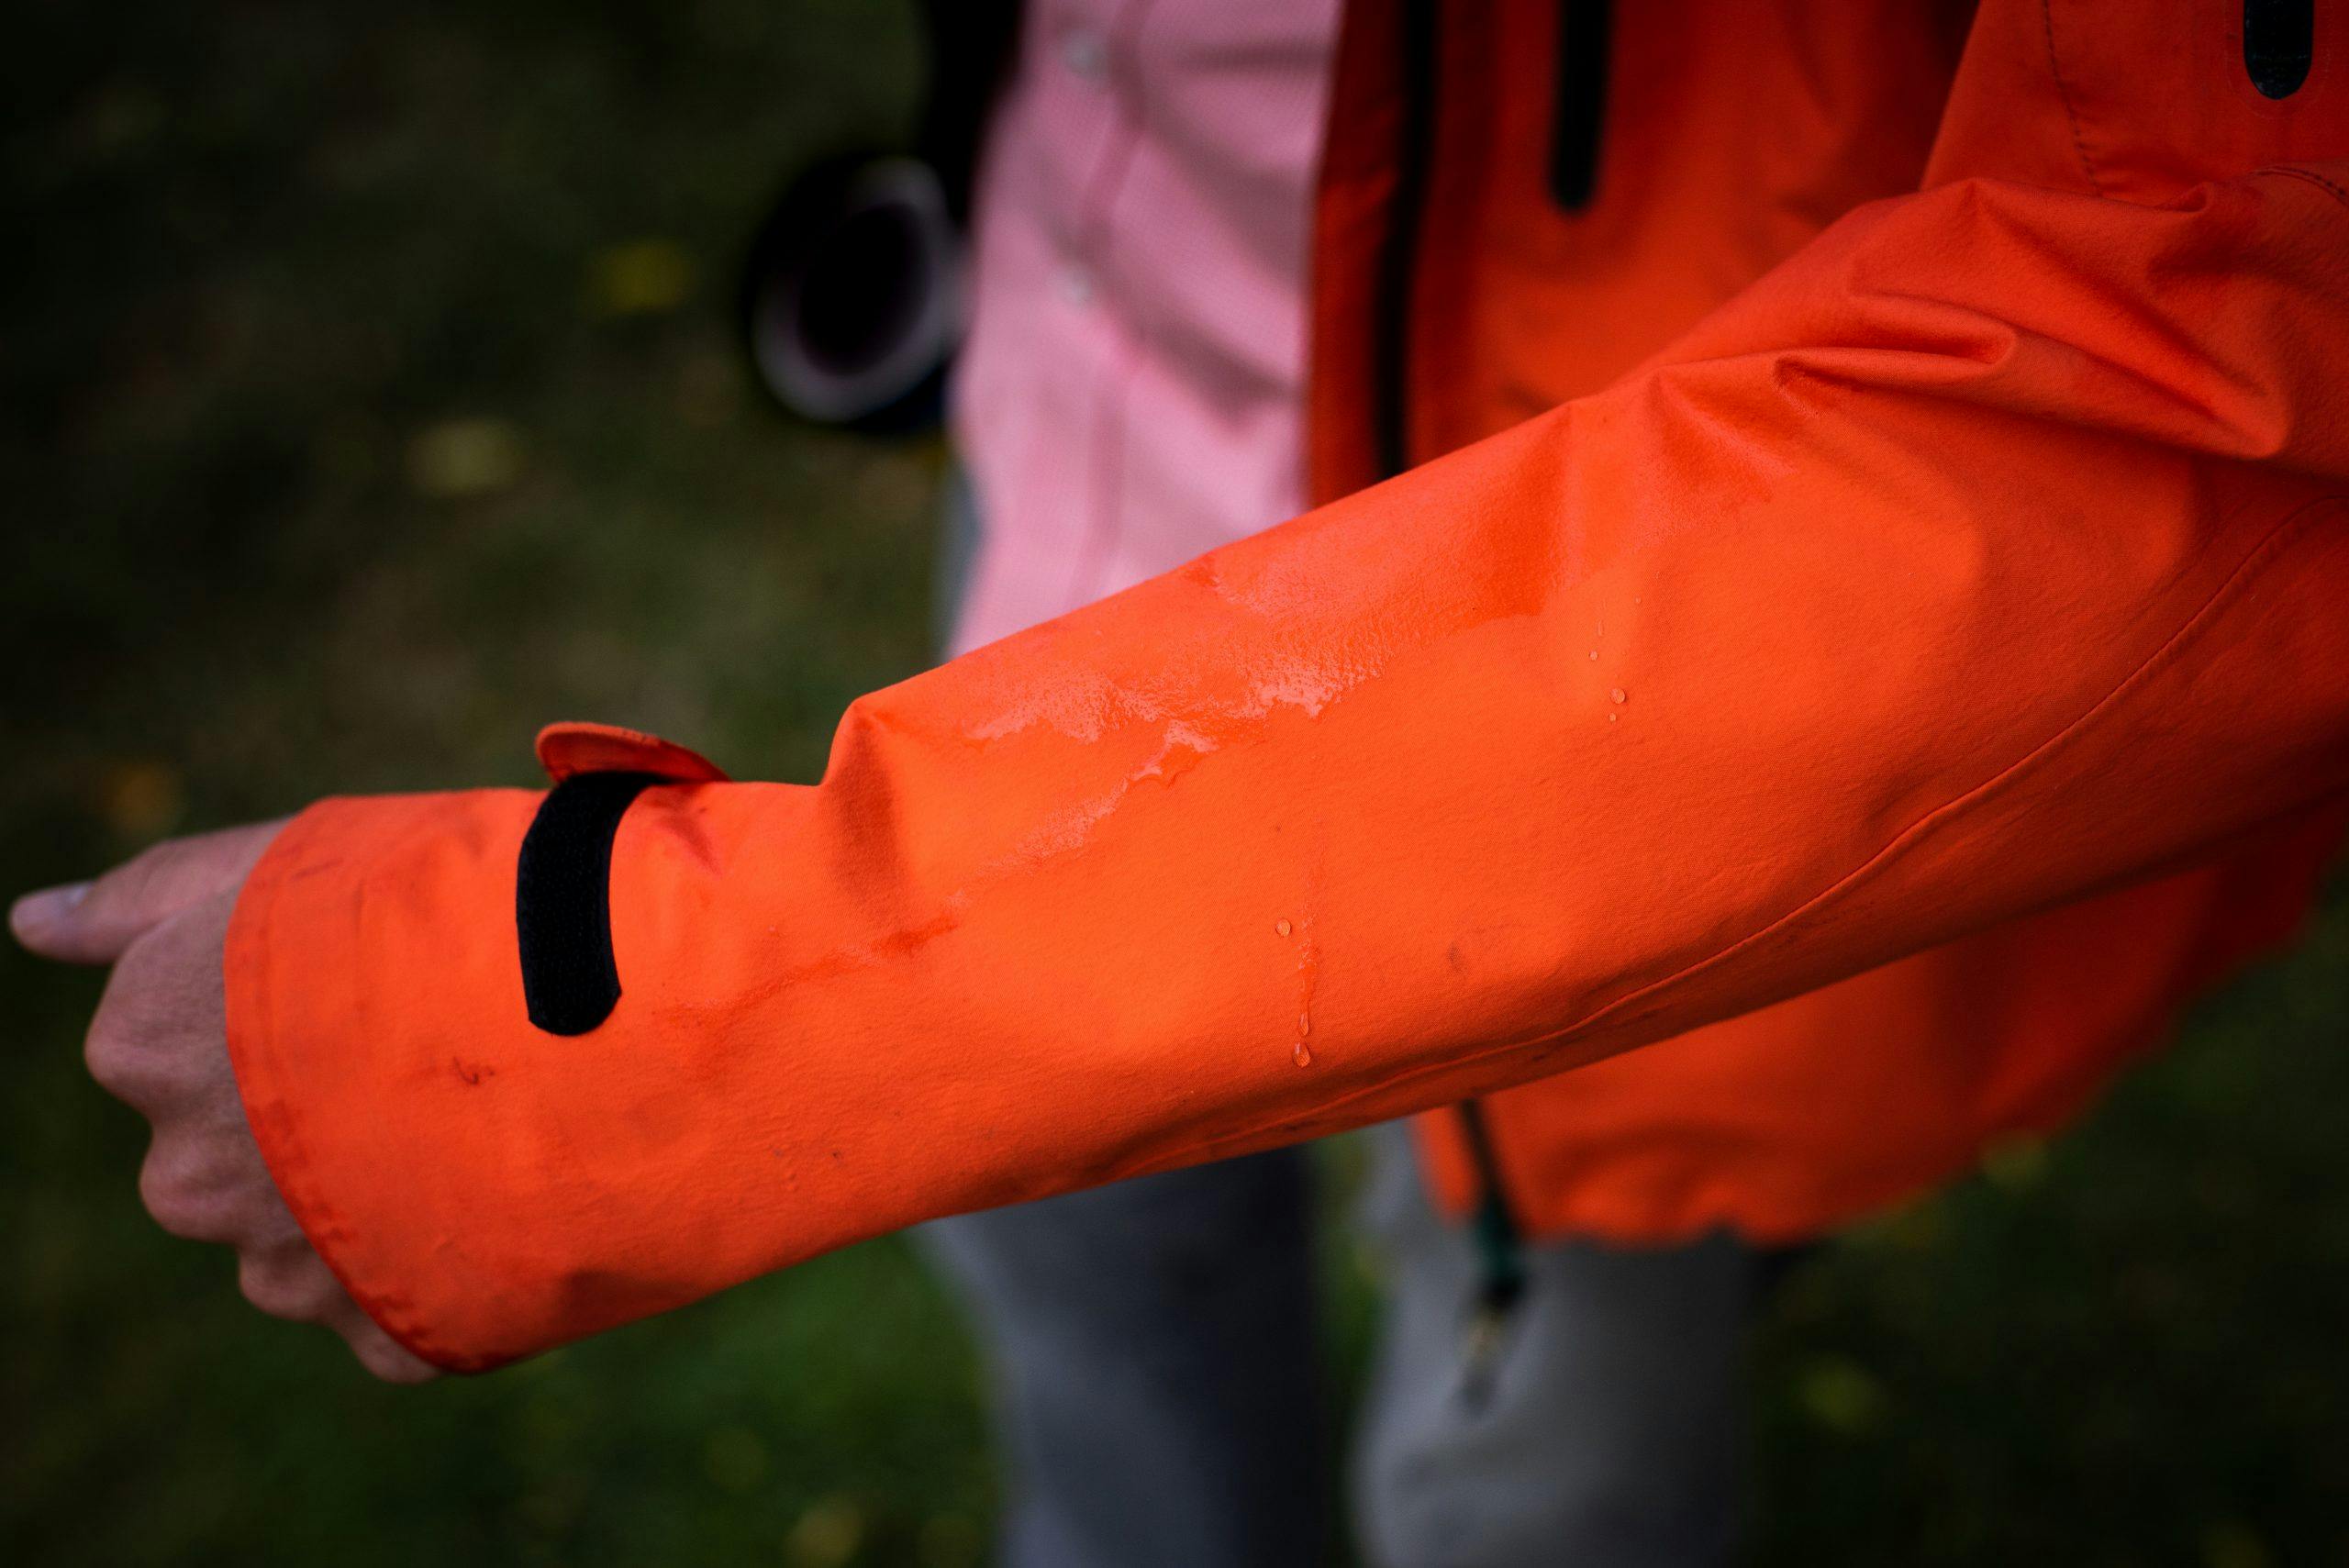
When the DWR is worn out, water will soak into the raincoat. Photo: Matthew Cattin
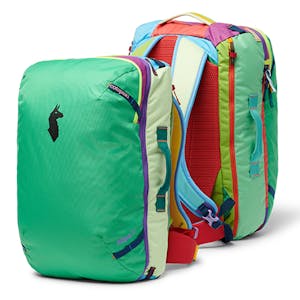
Get your pack back to brand new
Packs bear the brunt of our tramping expeditions, from the assault of sweat from a tramper’s back to the muddy ground they sit on at break times, yet they are seldom given a good wash.
The hardest part about washing a pack may be finding a vessel big enough to contain it. A bathtub is a great option, or a smaller bucket or container.
Fill the vessel with cold water and spot clean your pack with a gear cleaning solution, before submerging it completely.
Use a soft brush to work on stubborn dirt, and pay particular attention to areas affected by sweat.
Drain your vessel, and rinse the pack thoroughly, before air drying on a line.
Canisters can be recycled at most recycling centres if they are empty and punctured. Photo: Matthew Cattin
Sustaining your stove
The majority of tramping stoves fall into just two categories – canister stoves and liquid fuel stoves.
Canister stoves – which generally screw directly onto gas canisters – are simple, lightweight, and have few moving parts.
Liquid fuel stoves tend to be larger, more versatile, and require some skill to operate.
Sandy McLean from gear importer Ampro Sales says another key difference is the ability to maintain or fix your stove, should you encounter problems.
“Every liquid fuel stove is designed to be fully field maintainable – you should be able to clean and maintain one and address any issues that arise,” he says.
“Canister stoves have the advantage that their maintenance is much lower – almost non-existent if you care for the stove – but if something does goes wrong, your maintenance options are zero.”
A common problem in a liquid fuel stove is a build-up of carbon residue.
To fix this, loosen the cable from the fuel line and push it in and out of the fuel line several times before wiping it clean with a rag.
Check for cracks in the stove’s O-rings and clean the jet with the provided tool or a needle.
McLean says maintenance should always be done post-trip, rather than the day before setting off.
“The golden rule is to make sure you’ve done the maintenance correctly and tested the stove to be immediately ready for use the next time you need it – it should be stored in a condition where it’s ready to go,” he says.
There is no need to oil the stove, but white spirits can be used to clean food or grime from it.
Should they pack up, canister stoves are very difficult to fix at home, McLean says. The first component to break is often the ignition system, which is usually the most sensitive part of a stove.
“My general advice is to never take a stove without an alternative lighting system,” McLean says. He suggests packing a firesteel because it will provide a spark that can light canister or liquid fuel stoves and it will work in wet conditions.
Where liquid fuel canisters can burn multiple fuel sources, canister stoves are more restricted.
“They’re clean and efficient to use, but they’re more expensive to run financially and environmentally because you are burning a more highly processed fuel and you’re creating recycling,” McLean says.
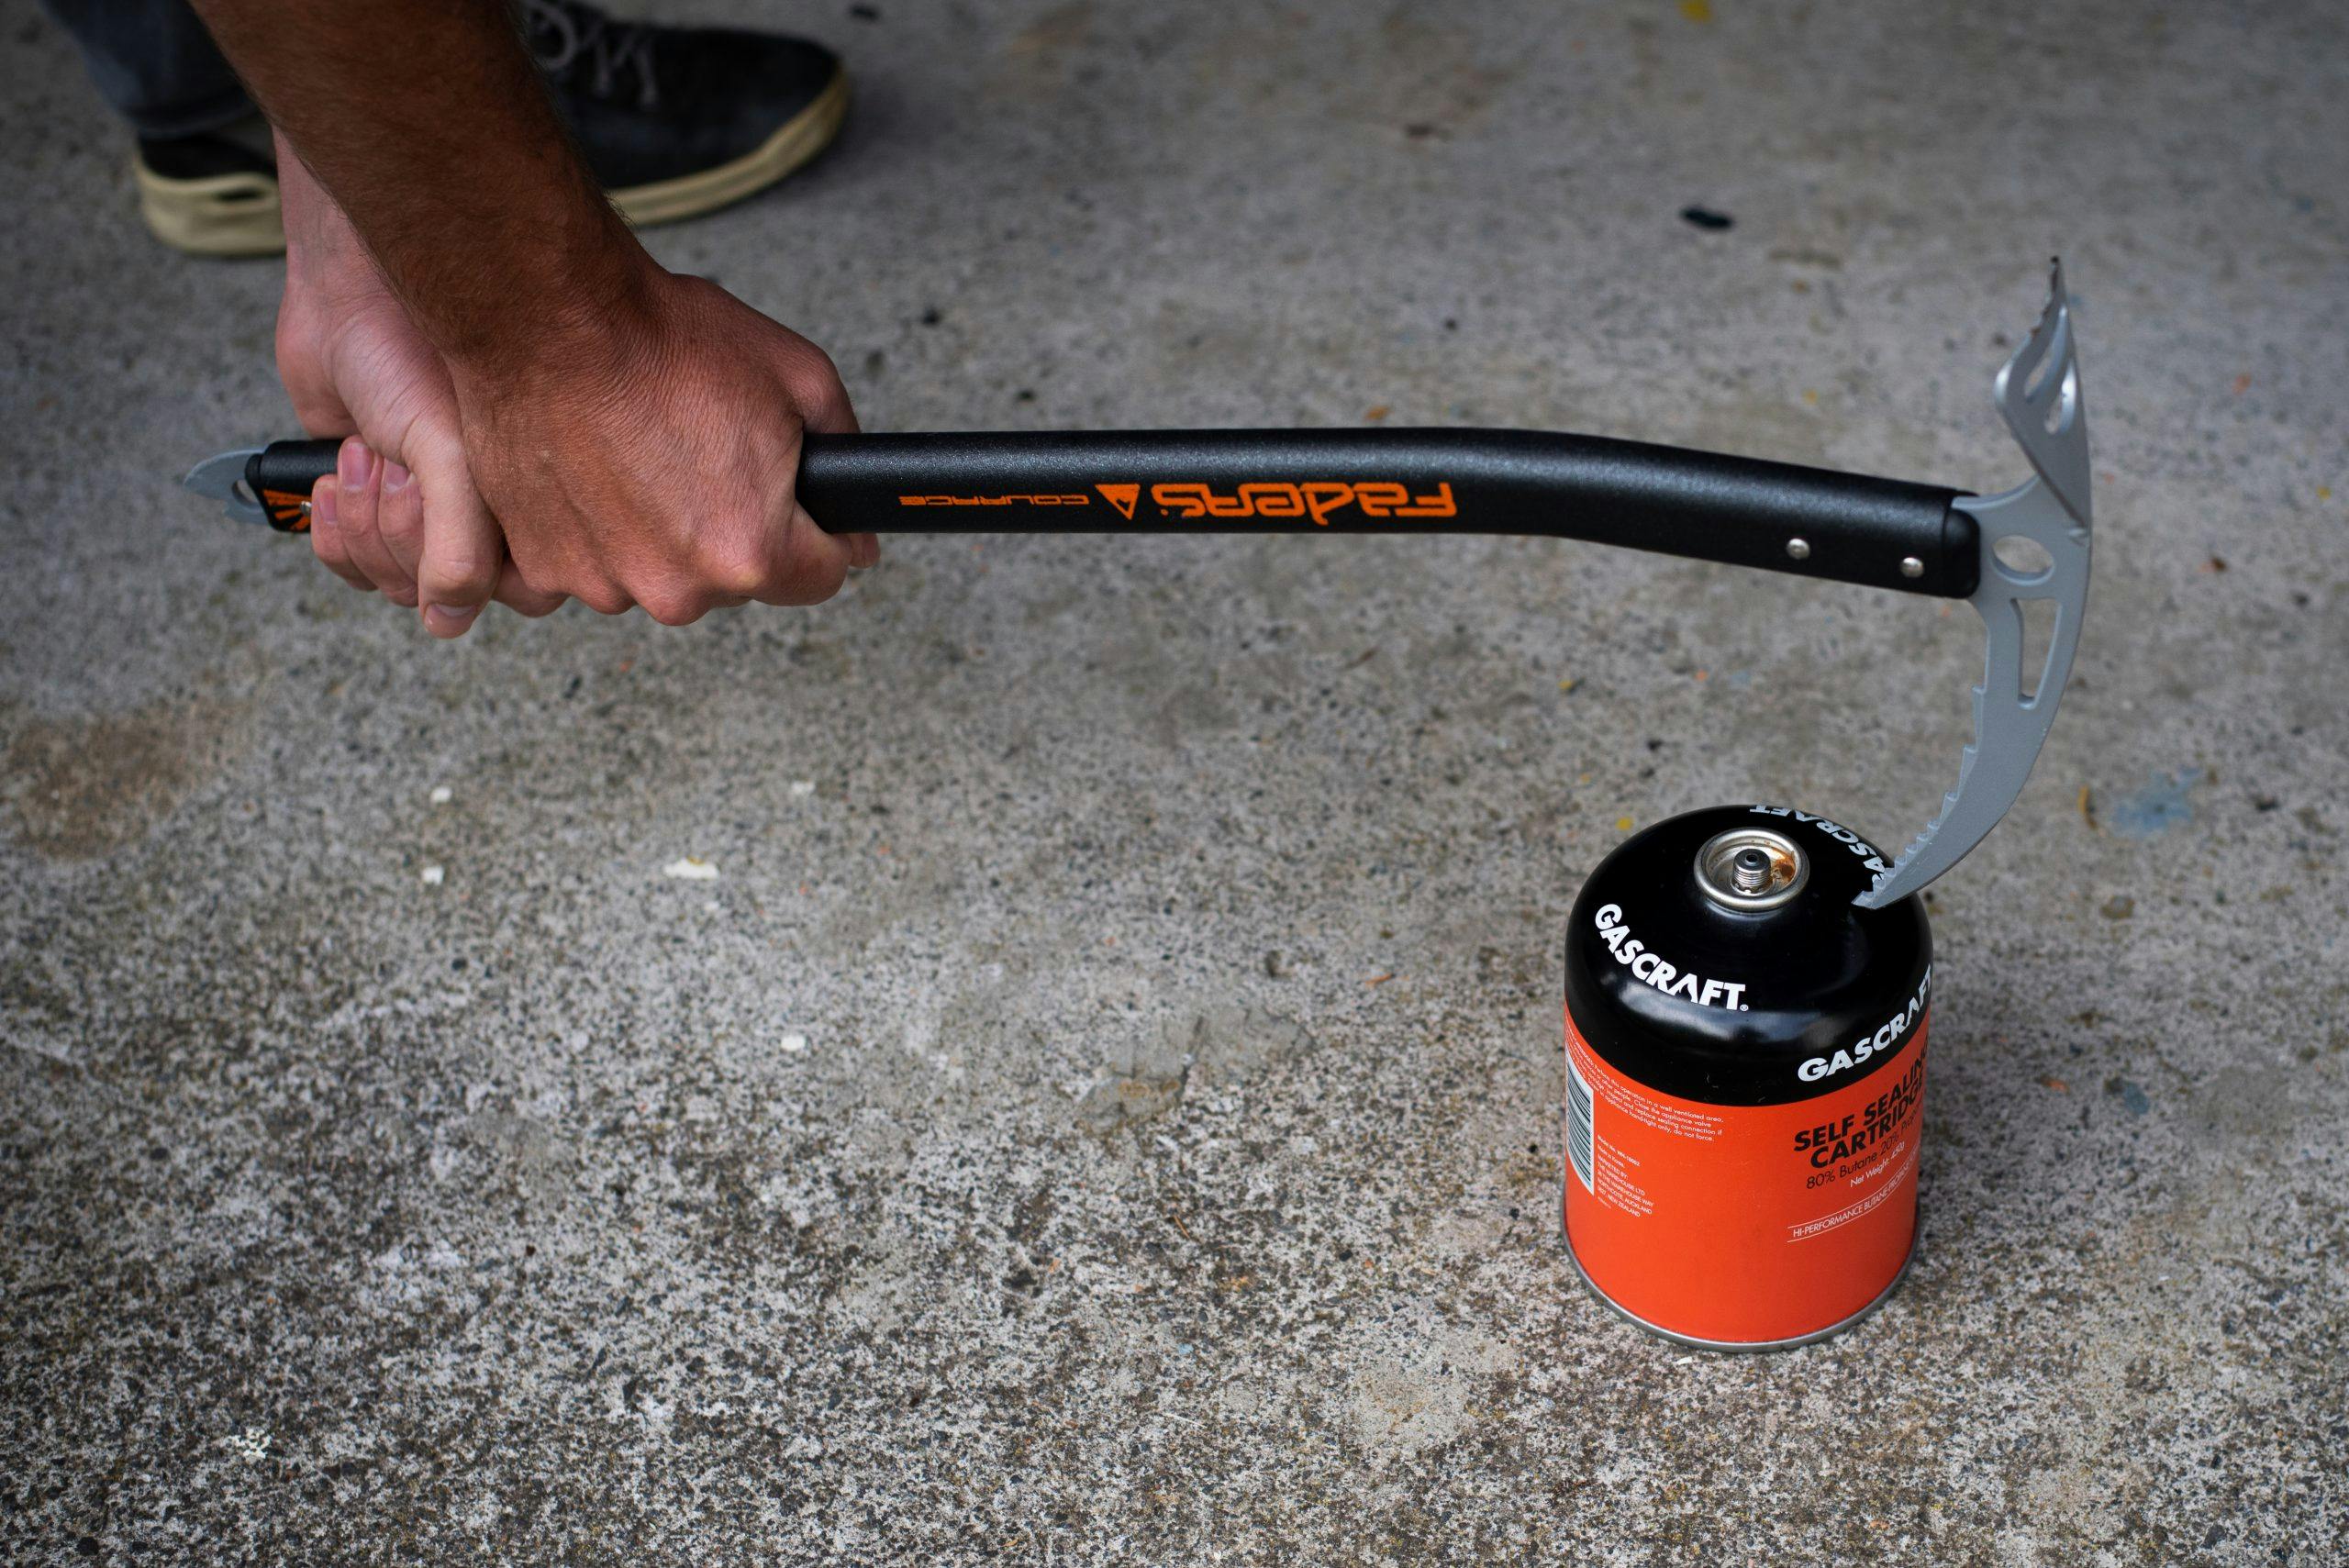
The canisters can be recycled, but they need to be completely drained of all residual fuel and punctured before they will be accepted at recycling centres – they are not taken by residential roadside recycling.
Custom-made tools are sold for this purpose, but ice axes, can openers or screwdrivers will also work.
Empty the canister by burning the fuel contents to completion. If you think there is fuel left, turn your stove’s gas valve on full, and invert the canister.

Sleeping bags should be tumble dried to help with lofting.
Let your bag breathe
It’s probably safe to assume all Wilderness readers wash their bedsheets, but when surveyed, just a third had ever washed their sleeping bag.
If left uncared for, oils and sweat from your body can permeate and dampen down, affecting the performance of the bag.
Martin Walker, of outdoor retailer Further Faster, says the biggest way to maximise the life of your bag is to keep it stored properly.
“Most sleeping bags come with a storage sack, and it’s super important to store your bag in that when you’re not using it so the down can stay lofted,” he says.
“I’ve seen people who have stored their down compressed for years, only to pull it out all mildewy and horrible.”
When it comes to washing, “it’s not something you need to do an awful lot,” Walker says.
“You can use down wash – which will wash the fibres in the down – every few years.”
Once washed, Walker recommends putting the bag into a pillowcase and dried in a tumble drier on a low setting.
Another popular method is to add a couple of clean tennis balls into the drier, to help loft the down.
Using a sleeping bag liner will reduce the number of washes a bag will require.
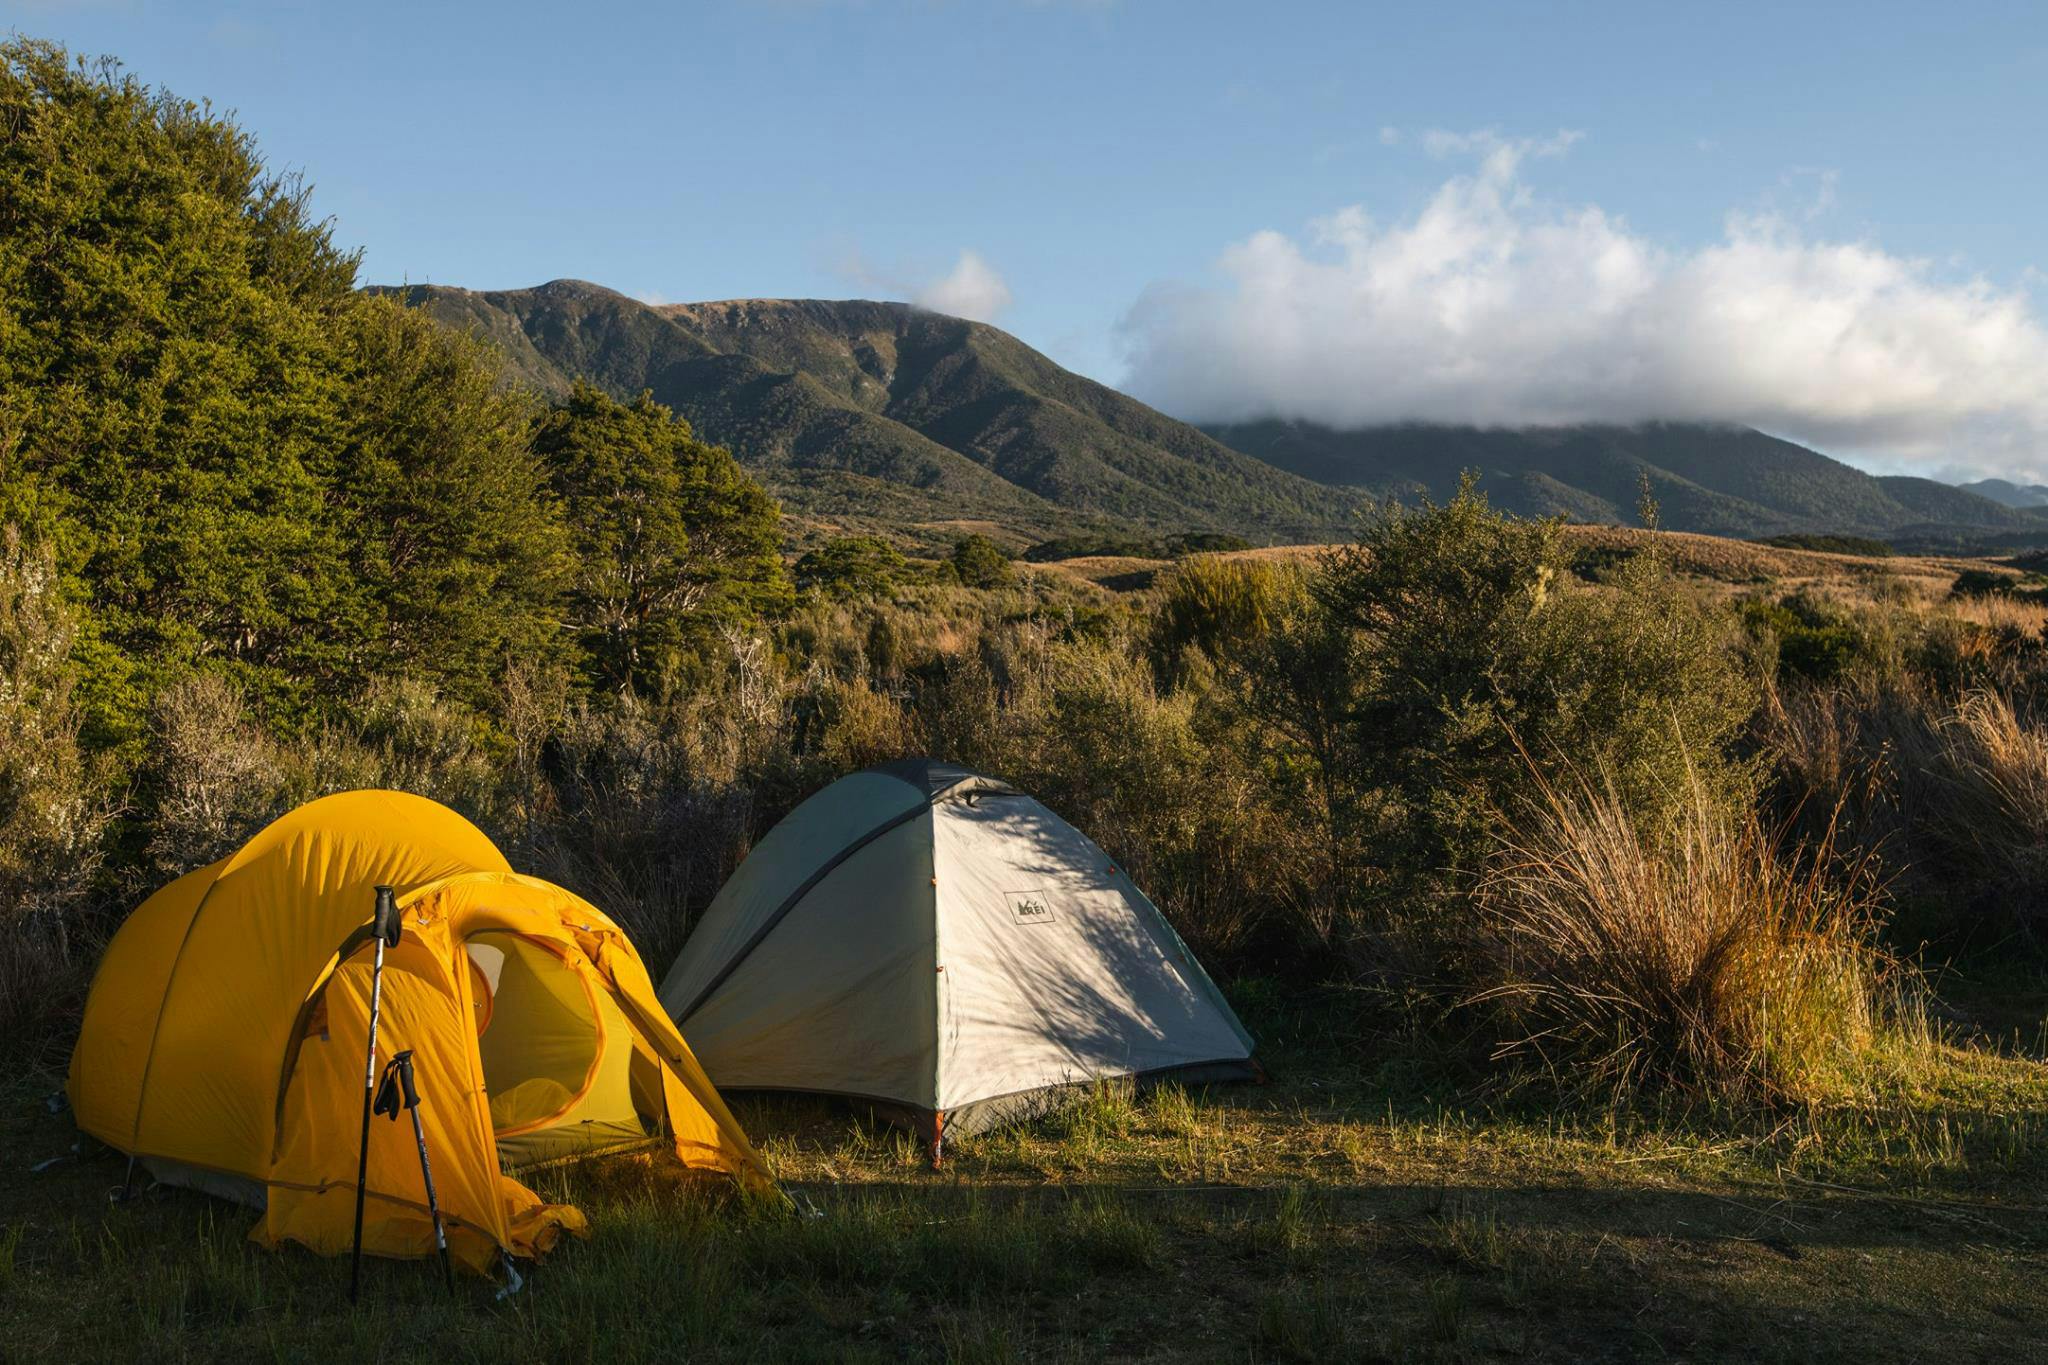
Keeping your tent tip-top
Tents keep us dry, safe and warm –it only makes sense we should treat them with the same care.
Before being packed away, tents should be cleaned of grass, dirt and sand.
Kiwi Camping’s Jackson Brown recommends using a broom or brush to remove dirt and debris from the tent bottom.
Any stains or stubborn dirt should be removed with water and a cloth, as household cleaners and soaps can damage materials and hydrophobic coatings.
“Wet wipes are great to keep on hand for removing bird droppings, sap and other dirty marks. They are gentle, dry fast and you don’t have to wash the soap residue off,” he says.
Tents should be dried completely before storage, as mildew and mould can develop in less than 24 hours.
Smaller tents can be put up inside in a breezy, warm room or hung over a clothesline until dry.
“Over time, zips get filled with dirt, dust, sand or other debris which can wear the teeth down and cause the zips to catch,” Brown says. If zips are catching, wipe them down with a damp cloth and spray with silicon.
Store tents in a dry room with the bag open to allow airflow.
For in-the-field repairs, Brown recommends keeping repair patches on hand. “A small tear or hole may become a big problem if left and can cause the tent to be irreparable,” he says.
 Fixing a tent pole
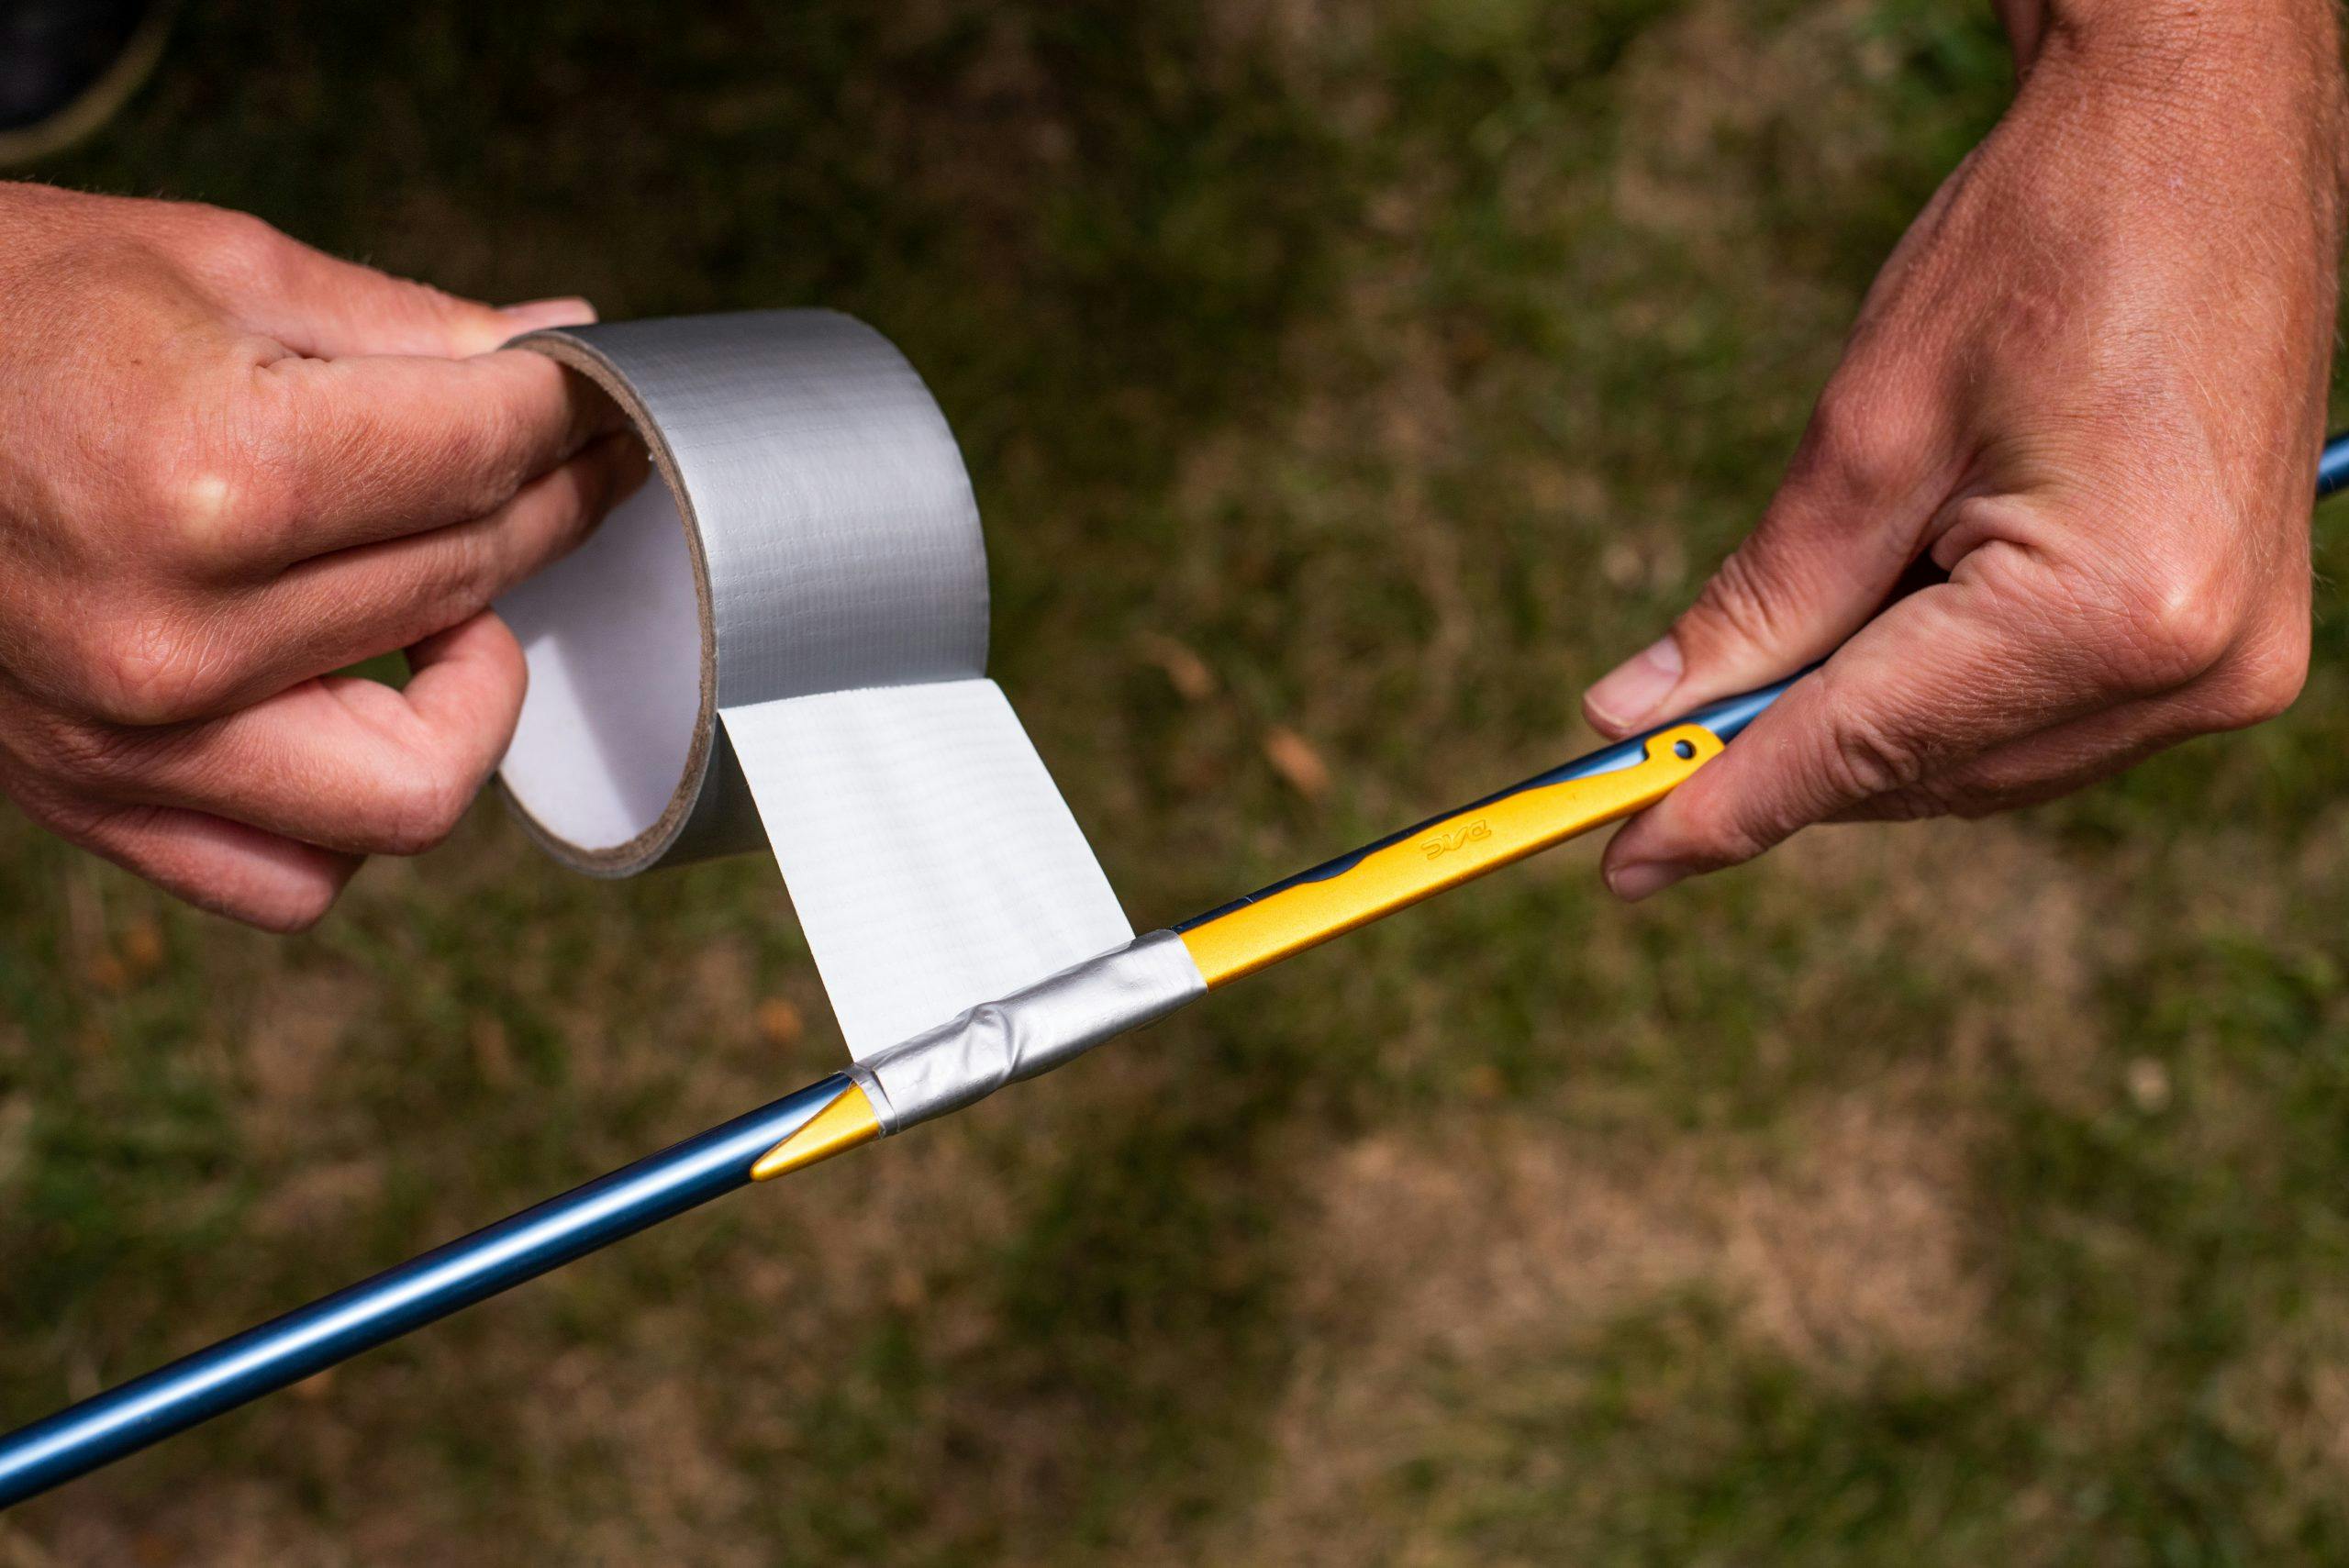
A broken tent pole shouldn’t mean a trip home, and most campers likely already have everything they need for a temporary fix.
If your tent was sold with a repair sleeve, slide it over the break, and duct tape it into place.
If you don’t have a sleeve, use a spare tent peg to splint the broken segment.
Wrap duct tape, tie wraps, or a combination of the two around the peg to lock it in place, ensuring any sharp spots are covered by the tape.
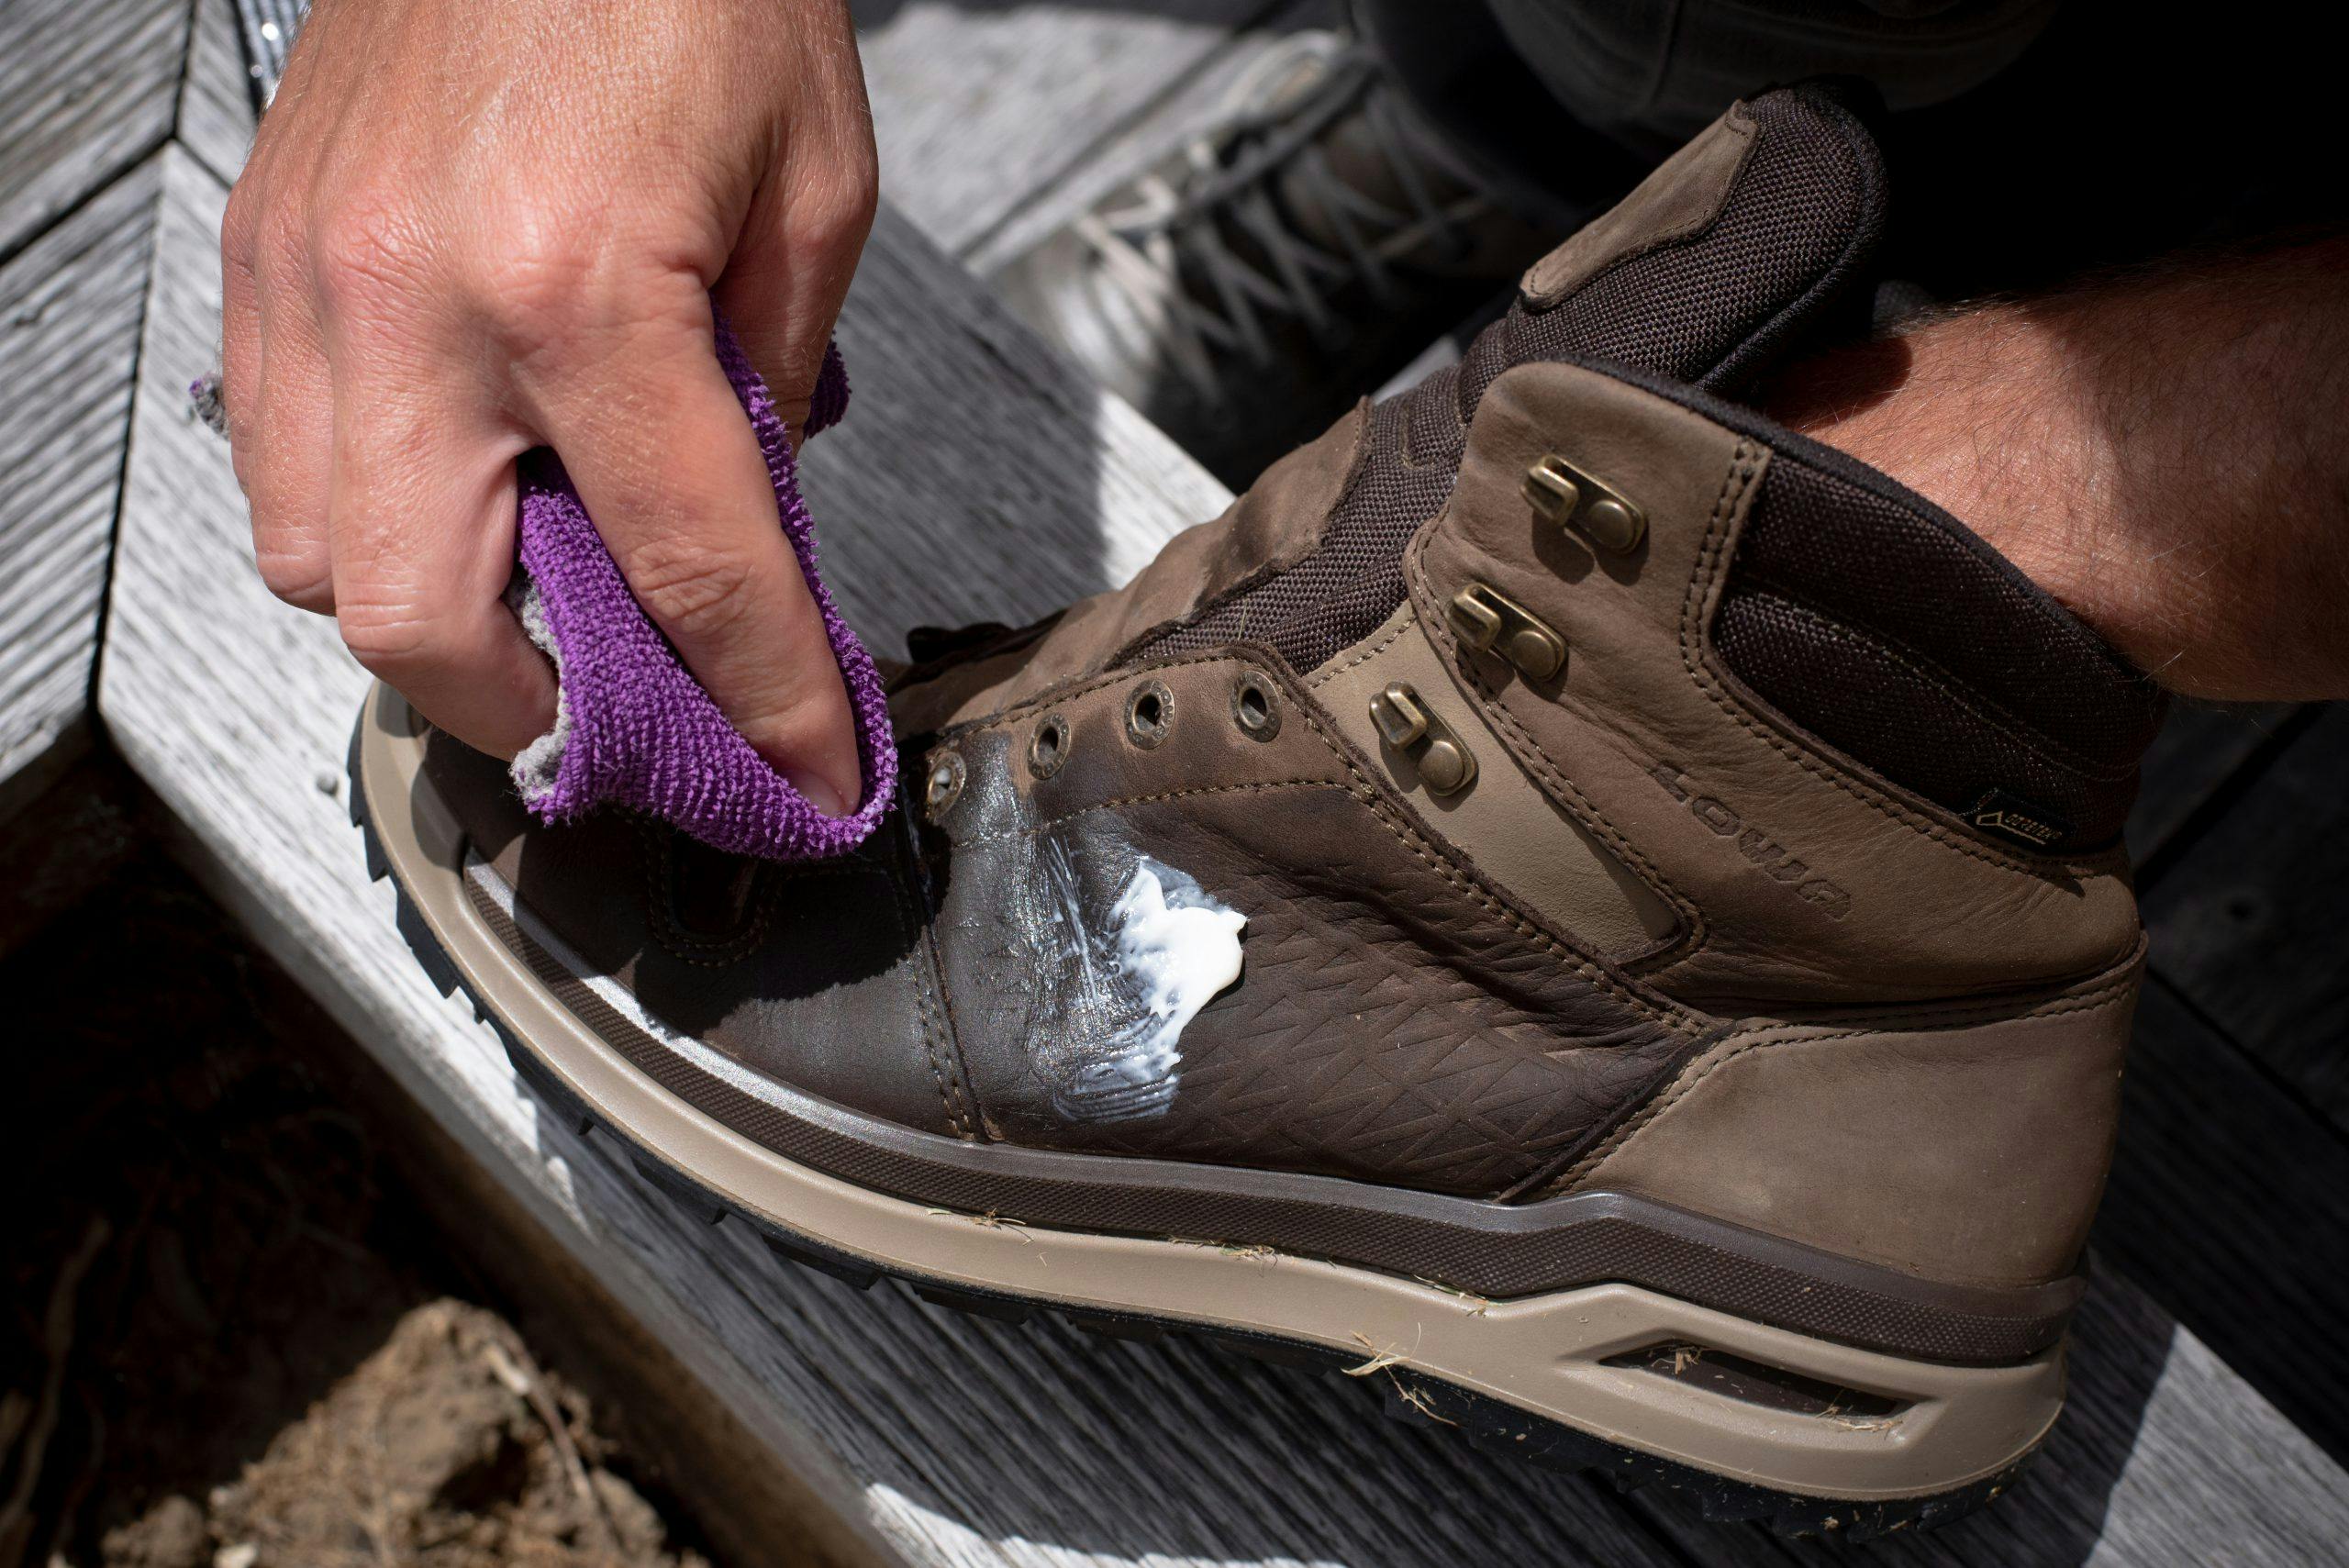
Boots should be conditioned regularly to keep the leather supple. Photo: Matthew Cattin
Getting the best out of boots
Picture a cozy winter hut. There’s rain on the roof and boots drying in front of the fire… it’s idyllic, it’s the epitome of Kiwi tramping, and it’s also extremely bad for your boots.
Trampers put their boots through hell, but how many of us give them the care and nourishment they need?
Shane Hazelden from Lowa recommends giving your boots regular TLC.
“Often people will care for their boots right before they go out, not when they come back,” he says. “But it will be that two week period when your boots are left uncared for that the biggest damage can occur.”
Care should begin with a thorough cleaning – the laces and inner sole should be removed, and the exterior should be given a gentle scrub with a soft-bristle brush or a cloth.
“You can use warm water, and maybe a light soapy solution – nothing too intense that could strip away the leather,” Hazelden says.
A hydrophobic spray should be applied when the boots are still wet and warm – the pores in the leather are open and the spray will impregnate the leather a lot better.
Once sprayed thoroughly, allow the boots to nearly dry, and apply nourishing leather cream.
Hazelden says water-based creams are best, as waxes or heavy creams can clog the pores of the leather.
“Most boots are lined with a breathable and waterproof membrane which allows moisture and steam to exit the boot. If you’ve clogged the leather with wax, it won’t allow the moisture to pass through,” he says.
Boots should be dried in an airy, breezy space away from direct sunlight or external heat sources like a fireplace or hot water cupboard.
“An external heat force draws out the moisture too quickly and can cause the boots to shrink, and the leather to become hard,” Hazelden says.
Newspaper can be stuffed into boots to help absorb excess moisture, but Hazelden warns that a tight stuffing can cause the boots to change shape as they dry and contract.
Herbal tea bags can be left in boots to cover odours.
Clean a burnt-on pot
Lightweight cookware and gas stoves can turn bubbling porridge to charcoal in seconds.
Soaking the soiled pot in baking soda and water is a much-recommended remedy. Netted onion or potato bags work well as a lightweight scrubber, and are unlikely to hold food scraps like a sponge or stainless scourer.
Sand, moss, snow and campfire ashes can also work, but be aware that abrasive methods can ruin some pot surfaces.
If you’re cooking on an open fire, rubbing bar soap on the underside of your pot can stop soot from sticking.

After washing, dry your merino out of direct sunlight and by draping evenly on the clothesline. Photo: Matthew Cattin
Know your merino
Merino is considered by many trampers to be the optimum baselayer – it’s warm, lightweight, moisture wicking, and natural.
On the flipside, the prized fabric is pricey, slower to dry than synthetics and delicate. Care is needed to ensure it endures repeated wear.
Macpac apparel designer Jos Button says merino’s antimicrobial properties make it an ideal material for tramping because it doesn’t need washing as frequently as synthetic garments.
“Airing out your merino can do the job, rather than washing it,” she says.
“Washing is detrimental to any product, so if you can wash less it’s good for the environment and better for the fibres.”
If washing is necessary, it should be done on a wool wash cycle, and washing powder should be enzyme-free to prevent the fibres breaking down.
Merino should never be tumble dried, dry cleaned, wrung out or pegged on a clothesline.
“It should be dried as flat as possible,” Button says.
This could mean spread out in a warm dry spot, or draped evenly, so half the garment is on either side of a clothesline, dispersing the weight.
“Old school darning is absolutely fine” for repairs, Button says, and small holes won’t be hugely detrimental to performance.