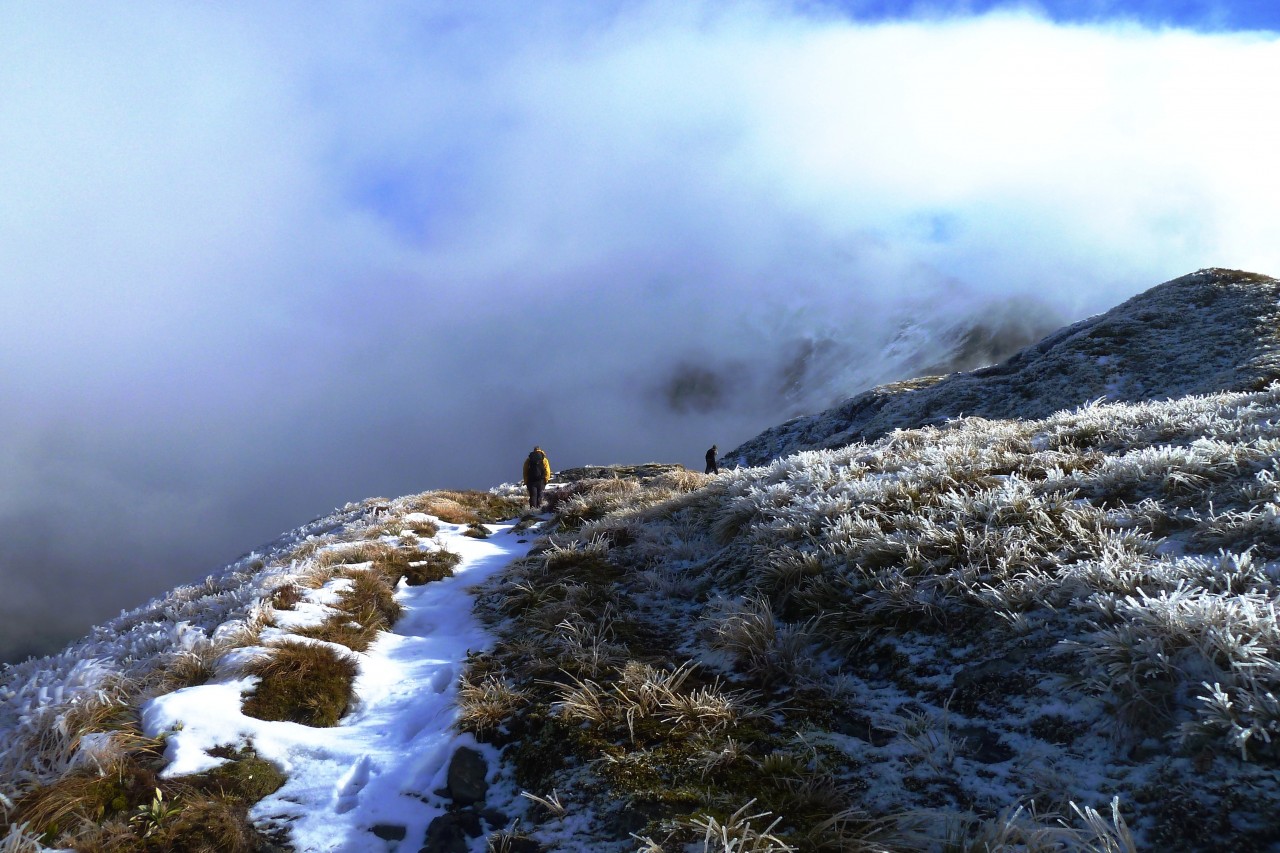
Winter conditions up the ante,” says Gary Dickson, a professional mountain guide and search and rescue (SAR) veteran of 40 years, 20 of which have been with the Wanaka SAR team. “Winter conditions take you into another world, where there are different risks, and those risks are greater.”
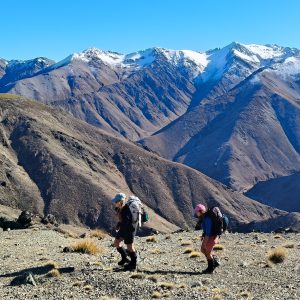
The challenge is that winter conditions can happen at any time in New Zealand, through changing seasons, a southerly blast or by gaining altitude. Trampers who might normally avoid serious winter adventures can find themselves caught out, which is why familiarity with winter conditions is important for every outdoor enthusiast.
Winter gear and how to use it
We’ve all seen the images and movies of people wearing and wielding ice axes and crampons with ease, and that, according to Aaron Nicholson, is dangerous. Nicholson has been with the police for 30 years, and a SAR coordinator for 15 years. He is in charge of coordinating rescue efforts in the Wanaka area, which is no mean feat.
“I see crampons and ice axes as specialist equipment requiring specialist training, because you can get yourself into more trouble with them than without them,” he says.
Because it’s easy to hire ice axes and crampons, it’s easy to perceive them as generalist equipment. But if you’re going into areas where you think these tools might be required, that should raise a red flag, Dickson says.
“You must know how to use them, there’s no other word,” he says. “I see people wanting to rent crampons without the ice axe and you just go: ‘uh oh…’.”
The Cascade Saddle Track, an alpine crossing between the West Matukituki and Dart Valleys, is an area that’s well known to the SAR team, for all the wrong reasons.
“Ninety-nine per cent of the Cascade Saddle is fine. There’s usually about 100m of snow, or verglas [a thin layer of invisible ice], and that’s what’s been the issue,” Dickson says. “People go up close to the edge to take pictures, and they don’t even realise they’re standing on ice. The run-out is the big difference: if the saddle didn’t have that, we wouldn’t be visiting it so much. DOC is very reluctant to say: ‘You should take ice axes and crampons’, but if they don’t, how does a person know there is going to be a hazard? And okay, they take crampons and ice axes, but they don’t know how to use them.”

What to do
1) You have to be situationally aware. “You have to consider: what are the consequences of falling in that environment?” Nicholson says. “It’s like a river crossing: depending on what’s downstream, if you get it wrong, you could just be wet and cold. Or you could be swept into a gorge for the rest of your life. Think about what happens if you slip and start to gain momentum – is it worth the risk?”
2) Get trained. “Our recommendation is that you have formal instruction on how to put on crampons and how to use them and an ice axe, preferably in a real environment, like a ski field, which is a good training venue with low or no consequences,” Dickson says. “Professional outfits offer courses, and it’s worth investing in one to make sure you cover the basics.”
3) Make sure you have the bases covered. “Self-arrest is a must,” Dickson adds. “That’s the most basic thing you should know.”
“What if you’re an average tramper cruising along a track in winter, and you come across some avalanche debris. You have to pass over 10 metres to rejoin the track. What happens if you slip? Do you know how to stop yourself if you do slip? And where will you go once you slip – into a river, or off a cliff? This is why it’s important not just to carry the equipment, but to have the understanding of how and when to use it,” Dickson says.
Other recommended basic skills are:

Forecast reading
Every New Zealander knows that a southerly change in the forecast could turn summer into winter very quickly.
Nicholson says they recently picked up a French tourist off the Skyline Track, which leads to Roys Peak.
The hiker hadn’t checked the forecast, nor had he gathered detailed information about the track, yet the DOC website advises prospective trampers that hypothermia is a real risk, even in summer, and to be prepared for whiteout conditions caused by snow or low cloud.
“The cloud came in, creating low visibility, and he couldn’t find the track,” Nicholson says. “He had no tramping gear, it was a white-out, there was now snow on the ground, he couldn’t find the track, and yet he was within sight of Wanaka. He wouldn’t have planned for that.”
What to do
General forecasts are getting better and better. While the SAR team would encourage people to develop a more thorough understanding of weather forecasts, particularly if they’re interested in spending time in the wilderness, Dickson says there are two key things people should keep in mind:
1) “If the weather forecast says ‘south’ or ‘front’, either read it more closely or get some advice. Breaking it down to those two key points tells you to be more prepared.”
2) Once again, situational awareness comes into play. “We’ll be keeping an eye on Roy’s Peak over the winter, that’s for sure,” Dickson says. “That’s the view peak. There will be a lot of photographers up there, even in winter. Roy’s Peak will have snow on the top, and people will stomp through that snow in their sneakers to take a picture of the sunset. On the way down, they’ll realise the snow has frozen to ice, and now they’re stuck with night coming on, completely unprepared. Winter conditions add complexity – it’s colder, more slippery, and gets dark earlier. You have to think things through.”
Avalanche awareness
Avalanche awareness is complex, and a “hard thing to get your head around,” Dickson says. “It involves a forecasting component and terrain knowledge – even in the bottom of a valley there can be an issue.”
What to do
The Wanaka SAR team is unanimous in advising people to take an avalanche awareness course through a reputable company. “Build your decision-making capability through professional guidance,” Dickson says. “This is not one of those things that can easily be broken down into advice. You need to get the full picture.”
The New Zealand Mountain Safety Council website offers a list of professional and recreational avalanche courses. Many professional guiding companies also offer multi-day, hands-on training opportunities.
The New Zealand Avalanche Advisory (www.avalanche.net.nz) provides information about avalanche risk levels, particularly on popular mountains, in all seasons.

Decision points
Dickson and Nicholson reiterate the importance of decision making in any season and any outdoor activity.
“It doesn’t matter what time of year it is,” Nicholson says. “When people have walked all the way up there, carried all their gear, when everything’s on a schedule – they are more likely to have a crack and not think things through.
“Take a moment and actively think through the decisions that you’re making, and the potential consequences.”
What to do
1) Consider the consequences. “Think: if I fall, where will I end up? In tussock? Off a cliff? If I slide onto the snow grass, is there a chance I’ll keep sliding into that big rock?” Nicholson says. “If you’re not absolutely certain you won’t come to an easy stop somewhere, why risk it?”
2) Think beyond the big picture. “Consider the information you’re getting on the day,” Nicholson advises. “Do we have the skills? Is the entire team up for this? What are the consequences if this decision goes wrong? How is the weather? All of those small elements add up.”
3) Factor in human behaviour. In the moment, people are often unaware or simply accept group dynamics, or they ignore the tiny instinctual voice of warning.
“[Human behaviour] can be egging each other on, ego, not wanting to look silly, assuming the group leader knows what they’re doing, just wanting to get over this bit,” Gary says.
“Many people learn from or follow more experienced friends into adventures,” Aaron adds. “One thing to be aware of is where your friend got their information. Have they had formal training or did they watch something on YouTube?”
4) Understand the cold. “This sounds so simple, but you need to realise it will be colder in winter,” Dickson says. “That’s not just for hiking, but if you have an injury, and you’re in the shade, and you’ve stopped, in the winter you’re going to cool down super-fast. You need to dress for the conditions, and carry equipment to protect you in case you turn an ankle, like packing a good sleeping bag.”
5) Don’t know? Ask. “Get the information to make the right decision,” Nicholson says. “That’s the key behind all this outdoor stuff: being situationally aware – both before you go and while you’re out – so you can make good decisions.”
Adds Dickson: “There’s no reason not to head out for a winter adventure – they’re great. You just need to slowly learn and inch into things. Take it one step at a time.”