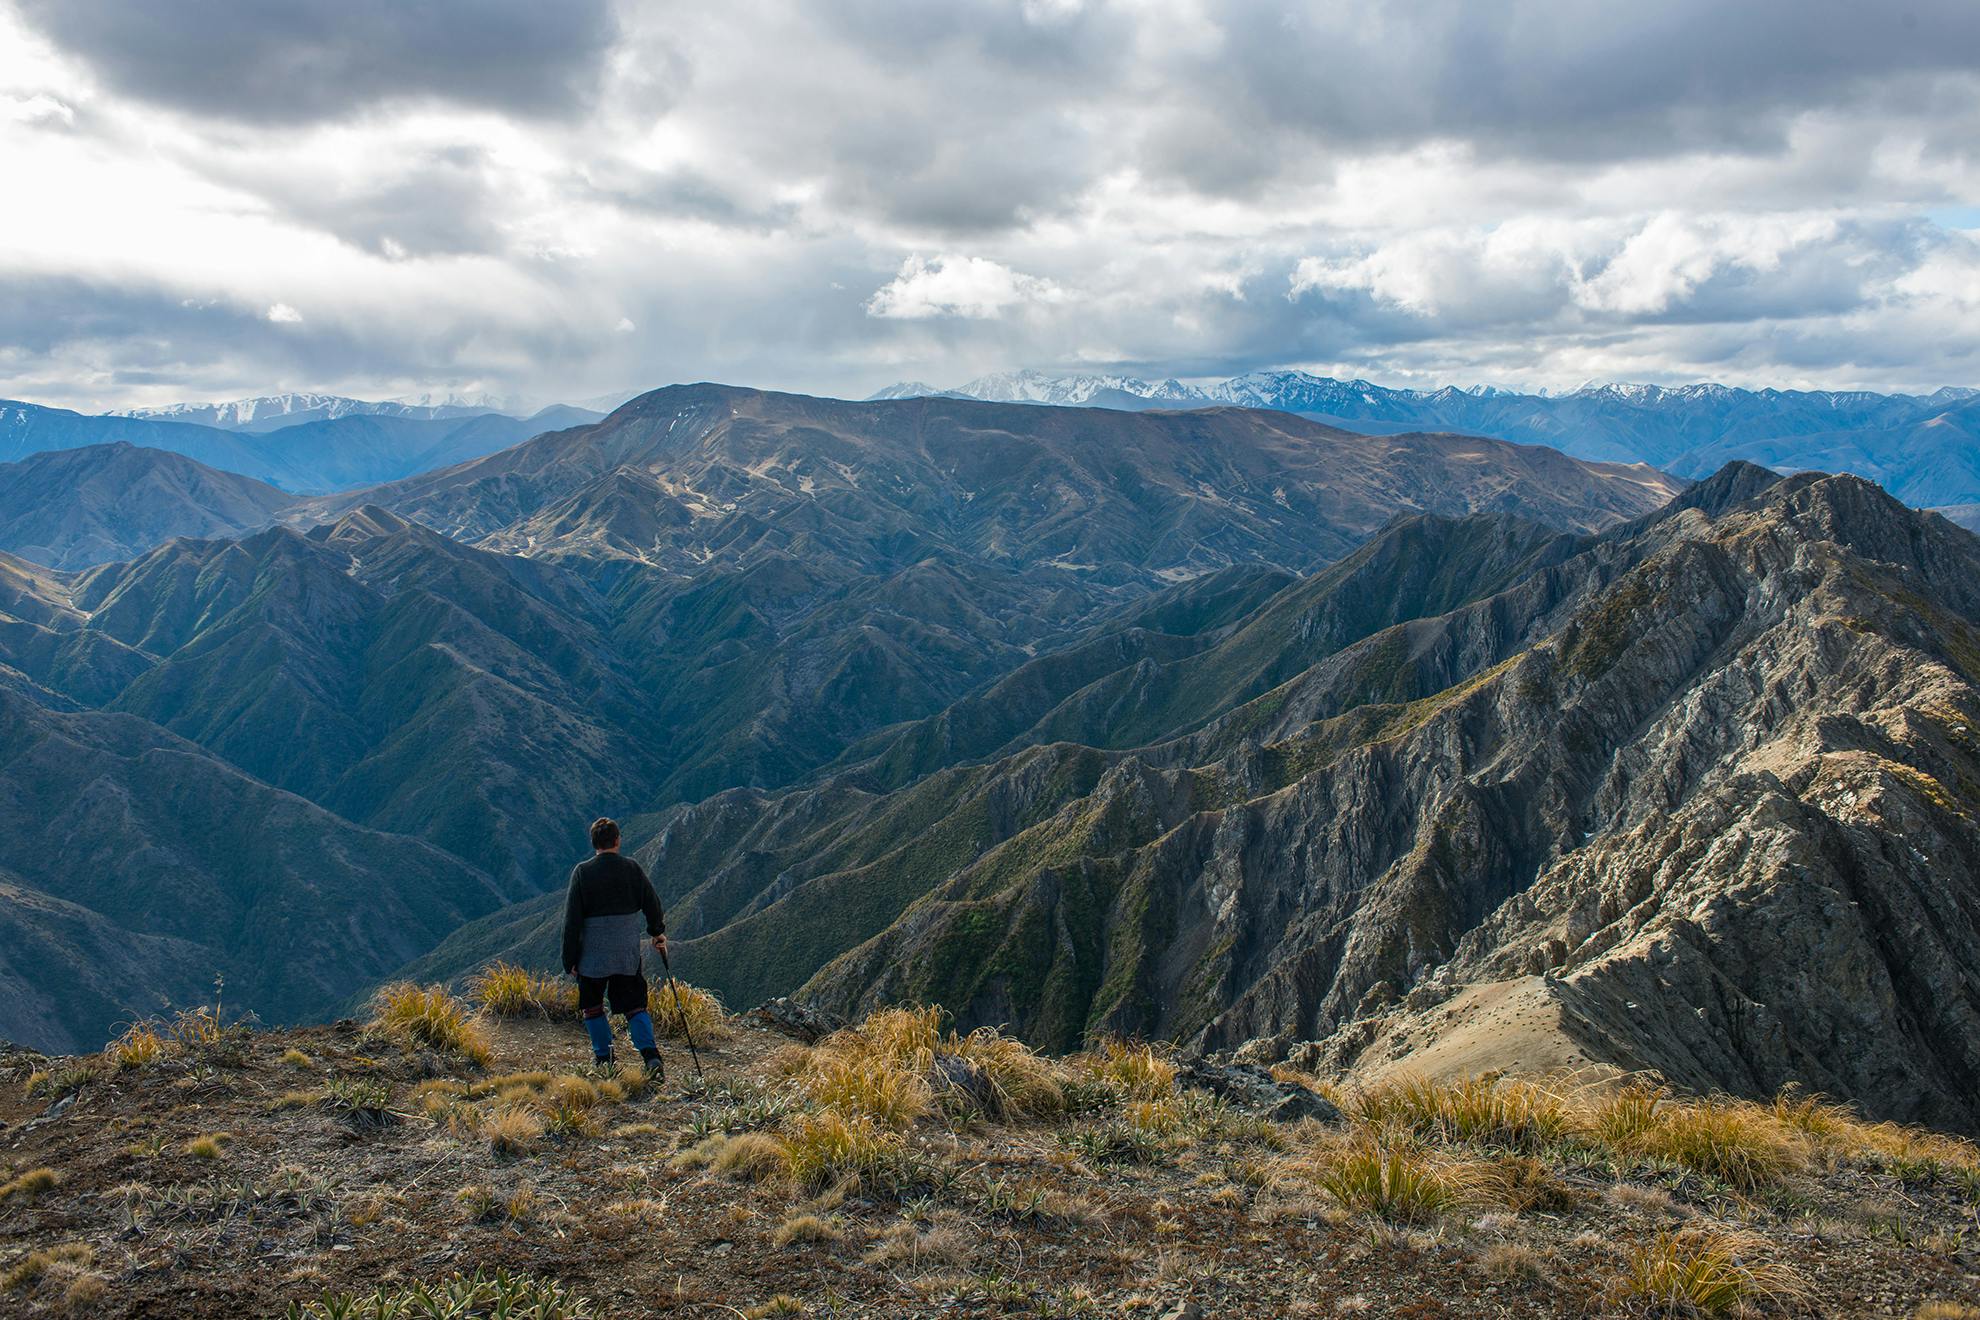
This route involves traversing rugged tops above Kahutara River where incredible views are gained of the Pacific as well as the Inland and Seaward Kaikōura ranges.
There’s access down a short lane on the northern side of the highway bridge over the Kahutara River to the riverbed and a secure place to leave your vehicle.
Then follow the 4WD track up Driving Spur to where the tramping route to the bivvy begins beyond Blind Saddle. (Note that driving access is seldom granted – the road is steep and difficult and subject to slips and wash-outs.)
From the Kahutara riverbed it’s all native forest as the road climbs onto a large tableland before zig-zagging up through pine plantation and along the ridge crest to reach Bushy Saddle around the 500m contour. It’s then steep to around the 900m contour, where it eases off. There are then excellent views of the surrounding ranges along the ridgetop before the road sidles along at the bush edge all the way up to Blind Saddle at 1148m, where there’s another steep section. Beware if the nor’wester is blowing hard, as this section is exposed.
The next kilometre is easier, up to the true pass (unnamed) that leads over into the Seymour Stream catchment. The road continues down into the catchment, but the route over to the bivvy now heads directly west over shale and tussock and climbs 100m through loose rock and scree onto the crest of the range (Driving Spur) and along to Pt1354.
The bivvy lies almost directly west below this point at around the 700m contour (not further north, as marked on some maps). However, do not descend directly down the broken and rugged spur. Instead head north along the main ridge for 150m until reaching some fine gravels, where there’s a standard with an orange triangle. Further standards are located down the gully. You’ll pass these – and perhaps goats, which are plentiful here.
Continue to reach the spur that drops from Pt1354 and walk along this in a northerly direction, keeping a look-out for the faint ground trail and occasional cruise tape. Do not descend to or traverse Pt967 as this will make for a difficult route to the bivvy. Descend westerly from the flat-topped spur (the bivvy is visible, to the keen-eyed, off to the southwest). There’s a faint trail and some tape until the spur flattens again at a small saddle.
The spur is left at a cairn as the route traverses south through some small gullies to reach the bivvy. This section has a good ground trail and is reasonably well marked. It is essential to find this traverse to save a lot of unnecessary back-tracking through bluffs to reach the bivvy.
With care, an unmarked route from the bivvy down into the riverbed can be located below and slightly south of the site. This makes possible additional range traverses west of the bivvy.
- Distance
- 12km
- Total Ascent
- 1238m
- Grade
- Moderate / Difficult
- Time
- To Blind Saddle, 3hr; To bivvy 2–3hr
- Accom.
- Kahutara Biv, 2 bunks
- Access
- Off the Inland Kaikoura Road at the Kahutara River bridge
- Map
- BT26, BT27
GPX File
- Kahutara Bivouac (gpx, 39 KB)
GPX File
- Your device does not support GPX files. Please try a different device.


