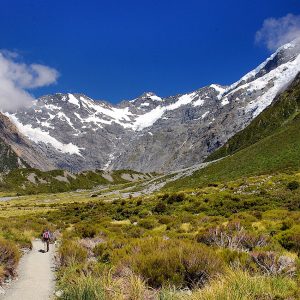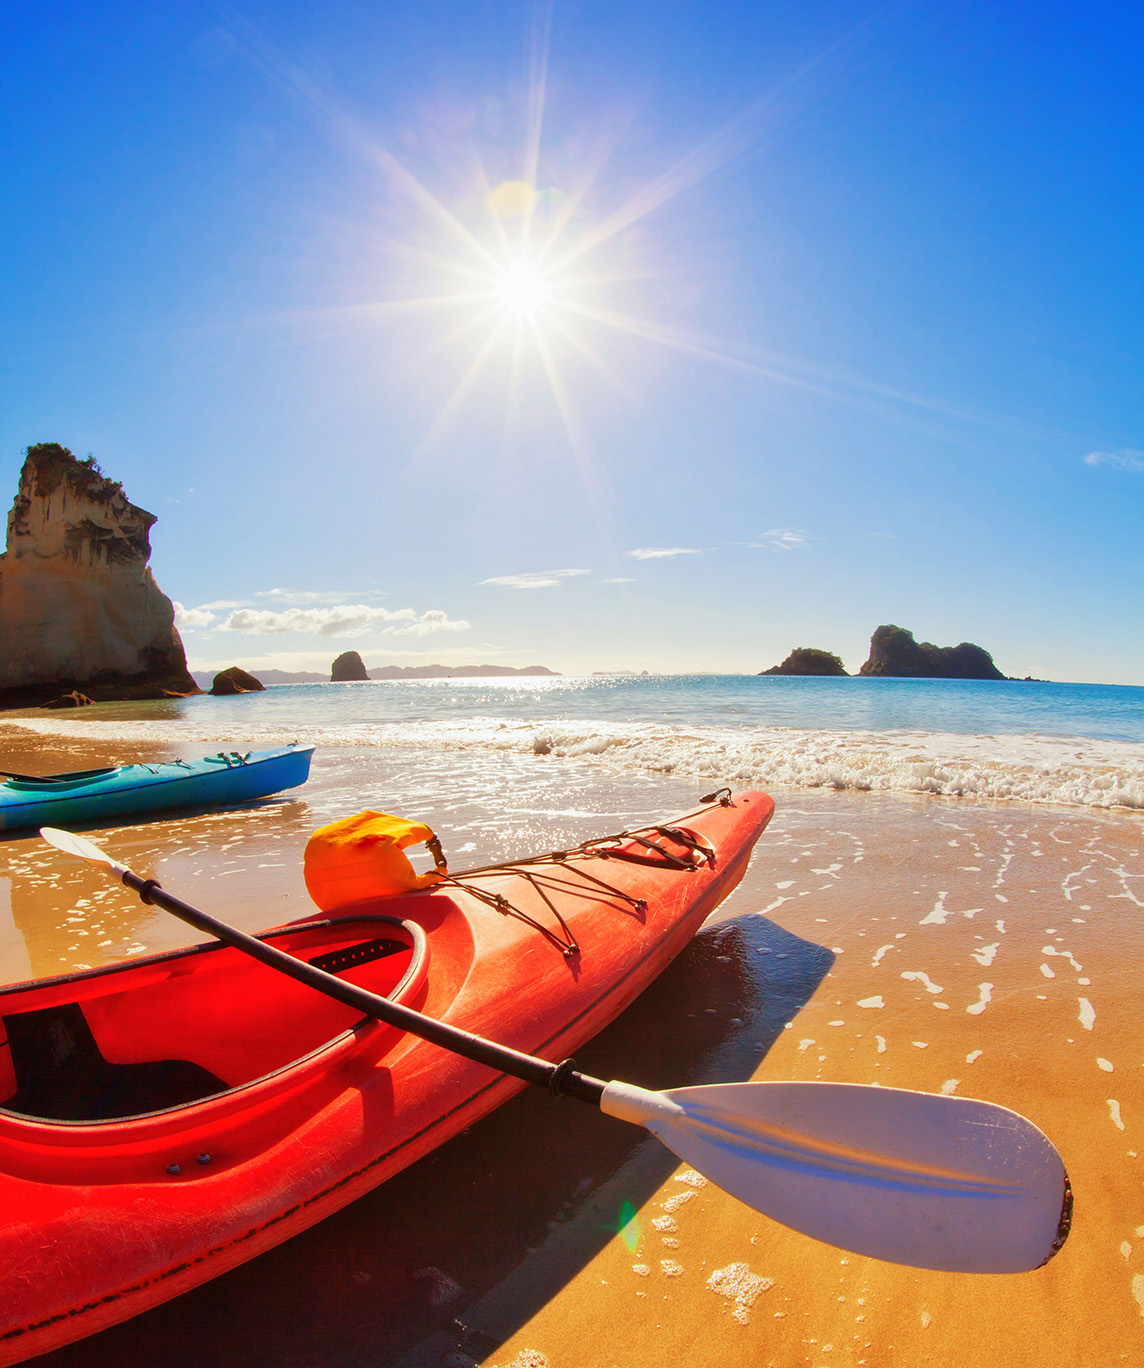
Why swap boots for boats?
A lot of kayakers come from a tramping background, but when scampering around hillsides with a pack on their back has become a bit of a pain (doggy knees, aching backs and hips) they look for alternative ways to carry the load to allow them to still get out there. A sea kayak can carry the equivalent of two big backpacks – allowing you to chuck in a few luxuries like a folding table and chair, even a bottle of wine and fresh veggies.
How to choose a sea kayak
For speed, the longer it is, the faster it goes. For safety and gear storage, you need one with several bulkheads so that in the event of a capsize, only the cockpit will get flooded – the boat won’t sink. This type of boat is called a sea kayak.
Most people find a compromise between these two features and the best way to discover which one fits you best is to hire one, and then another. Get the shop staff to adjust the foot rests for you, and make sure they provide you with a paddle, spray skirt, buoyancy aid, paddle float and pump to remove water from the cockpit. The very best way to get it right is to go on a skills course; try out and learn about different kayaks and gain some paddling skills.
Mandatory skills
The basics: For your first overnight trip, you will need, at a minimum, to be able to paddle effectively forward and backwards, be able to steer and to stop. For safety, not just for yourself but for those who paddle with you, you should learn how to assist in a rescue and be able to do a self-rescue. In the event of a capsize you need to be able to get back inside your boat, empty it out, and resume paddling. The two-hour Basic Skills paddling course offered by Ferg’s Kayaks (Auckland and Wellington) for $75 covers this.
The full monty: The comprehensive Sea Kayak Skills Course offered by the eight Canoe & Kayak Centres around the North Island is good value at $395 (or $474 for a catered weekend camping option) for two days and one evening. It doesn’t just teach you the elementary paddle strokes but includes power, sweep, draw, bracing and rudder strokes, making you faster, more manoeuvrable and confident in different conditions. It also covers launching and landing, risk management, packing a kayak, clothing and equipment, and basic navigation and weather skills.
Learn on the go: After you’ve mastered some skills, get out on the water often and join a local kayak club – most districts have one.
If you’re serious about sea kayaking, you could also seek out further training with the Kiwi Association of Sea Kayakers (KASK). KASK runs an annual training and fun weekend – one in the North Island and one in the South Island. The next North Island weekend is to be held at Ponui Island in the Hauraki Gulf over the weekend of March 3-5.
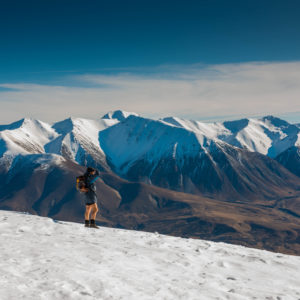
Training for the trip
Build up gradually, paddle with a buddy and don’t expect to do go from zero to 20km in a day and enjoy it.
In a safe club environment you’ll learn from other paddlers. Go on day paddles, increasing your distance from 5-8km, to 8-10km, to 10-15km, and soon you’ll be able to paddle 20km a day in less than four hours, no sweat. And you’ll even be up for a walk once you reach your destination.
If you don’t have good upper body strength, old fashioned push-ups and chin-ups will help. If you’re a gym bunny, ask your instructor to come up with a new routine.
Paddling gear essentials
In addition to the obvious – kayak, paddle, and spray-skirt – you will need:
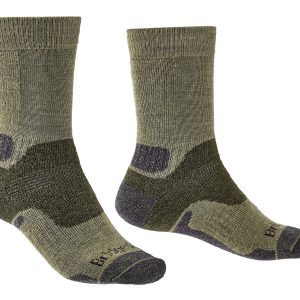
Clothing: Dress for a swim or capsize, which means clothing that will keep you warm when wet. You’ll also need to be able to swim in what you’re wearing. From top to toe, you will need: sunglasses or goggles on a leash, sunhat/beanie, merino or thermal short-sleeved and long-sleeved top, a paddle jacket, togs, long johns or paddle shorts. Wear dive booties, reef shoes or Crocs on your feet.
Safety essentials: Wear a buoyancy aid, designed for kayaking (short waisted), at all times; have accessible a pump (or bailer and sponge) and a paddle float (that you have been taught how to use) to aid re-entry into your kayak; at least two ways of getting help – a whistle attached to your buoyancy aid and a cellphone in a dry bag around your neck. Just as you leave intentions before an upcoming tramp, let someone trustworthy know your plans, including when you’re due back, and when to call in the emergency services.
Packing and carrying your gear

Most injuries (hurt backs, shoulders) happen on land. Ask for help to lift your boat off your car and never try to lift a fully loaded kayak. Pack it at the shore, then get three others to help you lift it into the water, or use a collapsible kayak trolley and walk it, then float it on the water. Shopping bags from $2 shops are great for toting stuff from car to boat and boat to campsite.
The items listed here are what I’d consider the bare essentials for a weekend trip (items marked with an asterisk should be put in a dry bag) and where I stash them in my QK Southern Skua. There is still room left over for a week’s food, a collapsible table and chair, frisbee or kite….
Day hatch
|
Front hatch
|
Back hatch
|
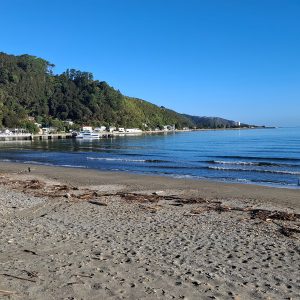
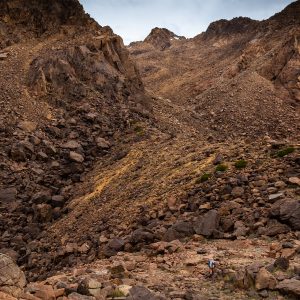
Choosing a place to paddle
When looking for places to paddle, take into account the fitness and skill level of everyone who is going. Look at your maps and consider emergency exit points – is there a road or track, or can you use a water taxi service? Initially, I’d avoid going out to an island as this could complicate things if you get into difficulty. Check the weather forecast and do not venture out if the predicted conditions exceed your comfort level. Newbies would want less than one-metre of surf or swell, and wind under 15 knots.
Lake Rotoiti, Nelson Lakes National Park

Starting from Kerr Bay, use either the 12-bunk Coldwater Hut or 28-bunk Lakehead Hut for an overnight stay on a circumnavigation of Lake Rotoiti. It’s about 8km from Kerr Bay to the lake head and the return trip via Whisky Falls, West Bay and the start of Buller River is 14km.
Te Ara Moana Kayak Trail, Auckland

The ‘seagoing pathway’ has been specifically designed for the sea kayak camping experience. The six campsites are a short, easy paddle apart (8-14km) allowing this 51km journey to be done as a multiday trip. A good overnighter to sample the trail is from Omana Regional Park to a delightful campsite 11km away in Duder Regional Park.
Ratimera Bay, Queen Charlotte Sound

With a DOC campsite providing running water and 12 tent sites, Ratimera Bay makes a good base camp. Leaving from Picton it’s 16km to the DOC campsite (make the journey an easy 10km distance by departing from Waikawa Bay). The next day you can round West Head to explore Bay of Many Coves.
Lake Tarawera, Rotorua

Start at The Landing (Punaromia Beach) and head for Hot Water Beach campsite 12.5km away. The campsite has a stream where you can collect water, a cooking shelter and 30 tent sites. Take your togs so you can soak in the nearby hot pools. A short trail leads to Lake Rotomahana where there is a memorial to the Tarawera eruption.
Mahurangi Regional Park, Auckland

Park and launch at Otarawao Bay (Sullivan’s Bay) from where you could paddle 1.25km north to Otuawao Bay or 2.5km south Te Muri Beach. Both destinations have campsites with toilet facilities. From there head north to explore Mahurangi Harbour.
Gear for your first paddle

Sharkskin Climate Control $315 |
 Sea to Summit Stopper Dry Bags $36.99-$94.99 Sea to Summit Stopper Dry Bags $36.99-$94.99Fully welded dry bags ranging in size from 5l to 65l. Made with UV resistant TPU film that won’t crack in extreme cold. Base and side strip are 210D nylon, oval base resists rolling and allows for easy packing. |

Sharkskin Rapid Dry $99
|

Sea to Summit TPU Map Case $39.99-$54.99 |
 Sea to Summit Paddle Leash $24.99 Sea to Summit Paddle Leash $24.99Adjustable attachment point to fit a variety of paddles, stretchy inner cord, hook and loop closure with non-slip Hypalon for added security. |

34 years of inspiring New Zealanders to explore the outdoors. Don’t miss out — subscribe today.

Questions? Contact us