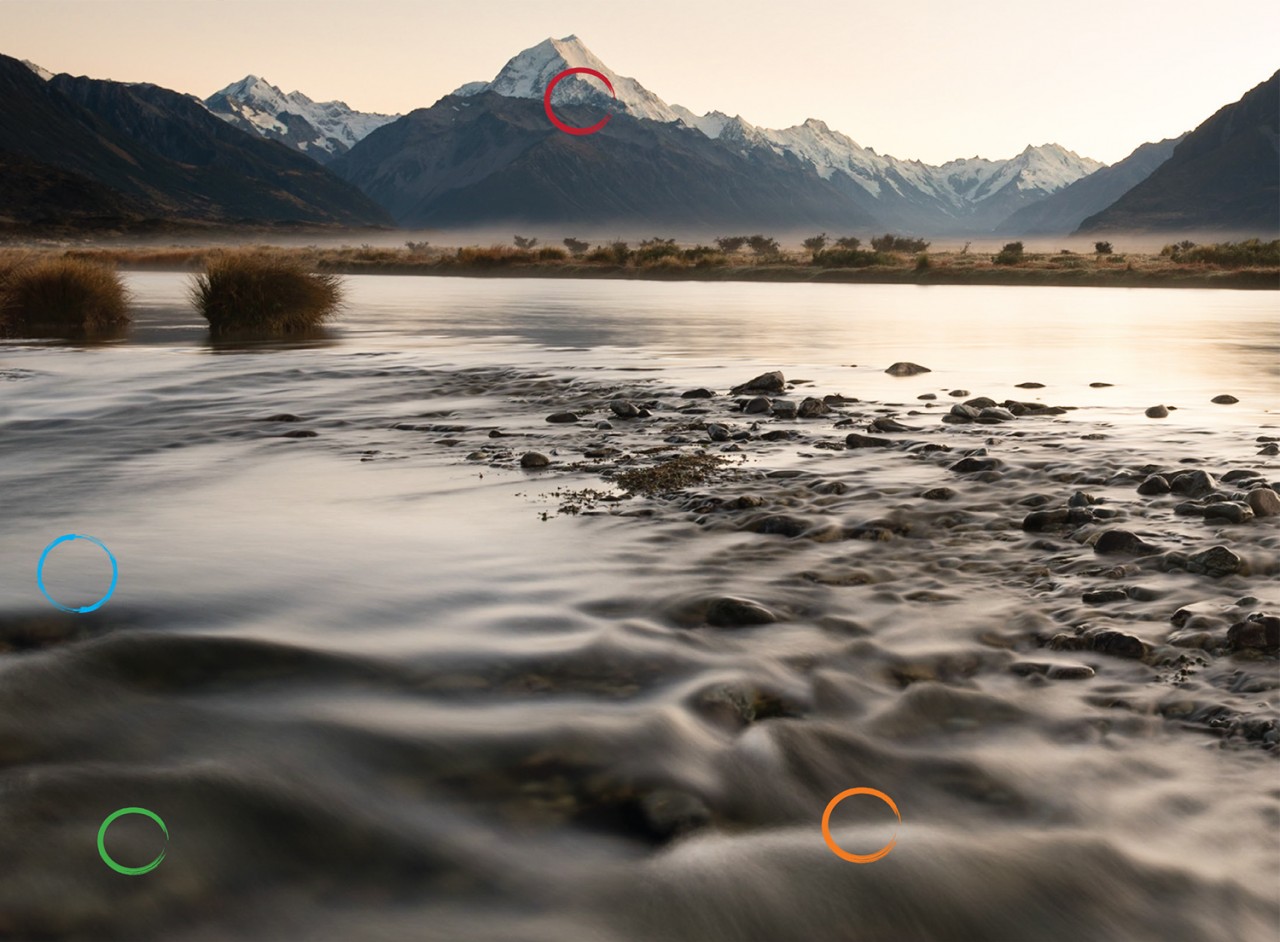
Capturing a river in all its glory may require getting your feet wet
Find a subject
Decide if you want to capture the whole river or isolate a part of it as your subject. If only a small part of the river is interesting, then a tele-zoom lens will pick this out. For those sweeping river vistas you will likely need to use a wide-angle lens to include everything. If using a wide angle lens, move around to find some foreground interest – an image can easily become boring with no foreground focal point. Think about your height above the river, as this will dramatically change the view.
Get your feet wet
Often the best view of a river is from standing in the middle of it! Try to fill the frame with water, a large rock or a bridge. These can also provide an excellent viewpoint, as can a bend in the river which may offer an open view upstream.
Shoot upstream
Photographing upstream with the water coming towards you normally works best, as it draws your attention into the photograph, not out of the photograph. Use the shape and flow of the river to lead you into a background subject, such as a distant peak or a prominent feature such as an overhanging tree. Sometimes shooting directly across the river to a subject on the opposite bank can work really well.
Capture some movement
Using a tripod and a longer shutter speed will allow you to capture the movement of the river. Look for an area of fast flowing or white water to capture. Including some foreground rocks will add depth to the photograph.
Location Tasman River, Mt Cook National Park CameraSettings 35mm lens, ISO 64, f11, 5 seconds
The Wilderness 40 Best Huts: 12 Top North Island Huts
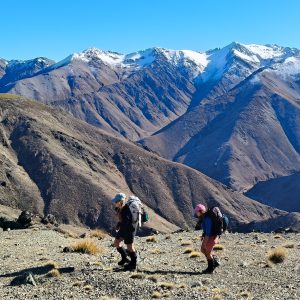
Winter magic in the high country
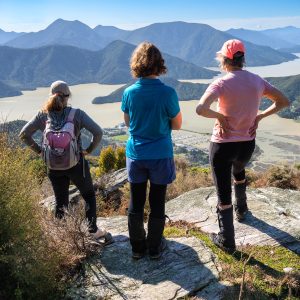
Takorika, Havelock Water Supply Reserve
Subscribe!
Each issue of Wilderness celebrates Aotearoa’s great outdoors — written and photographed with care, not algorithms.Subscribe and help keep our wild stories alive.