


When the view is larger than life, try shooting a panorama.
Merging several sequential images into one photograph will allow you to capture a landscape that is much wider than the field of view of your lens.
Be a straight shooter
Shoot all pictures along an imaginary horizontal line, using terrain features as reference points. Using a tripod will make this a lot easier.Be generous with your overlap Allowing enough overlap will help your computer merge the final image. A one third overlap between images is ideal. Using the rule-of-thirds grid of your camera will help you get the overlap just right.
Shoot in portrait orientation
Your camera’s field of view is wider than it is high. Shooting in portrait orientation will allow you to capture a more vertical aspect. You can always take a few extra pictures to capture the horizontal aspect of your composition.
Different game, same rules of composition
Judging your composition is not easy, since you do not get to see the finished panorama right away. Nevertheless, think carefully about what to include and exclude in your image.
Less is more
Limit the number of images that make up your panorama – six vertically-shot images with an overlap of a third will provide pleasant results.
Take full control
One side of your panorama may be brighter than the other. Set your camera to manual mode, then dial in your exposure for the brightest shot. It is easier to brighten up dark parts of the image than to darken overexposed highlights.
Putting the puzzle together
You’ll need software to stitch your images into a beautiful panorama. Free software options include Hugin and Microsoft ICE. Commercial options include Adobe Lightroom and Photoshop, PTGui, Kolor Autopano.
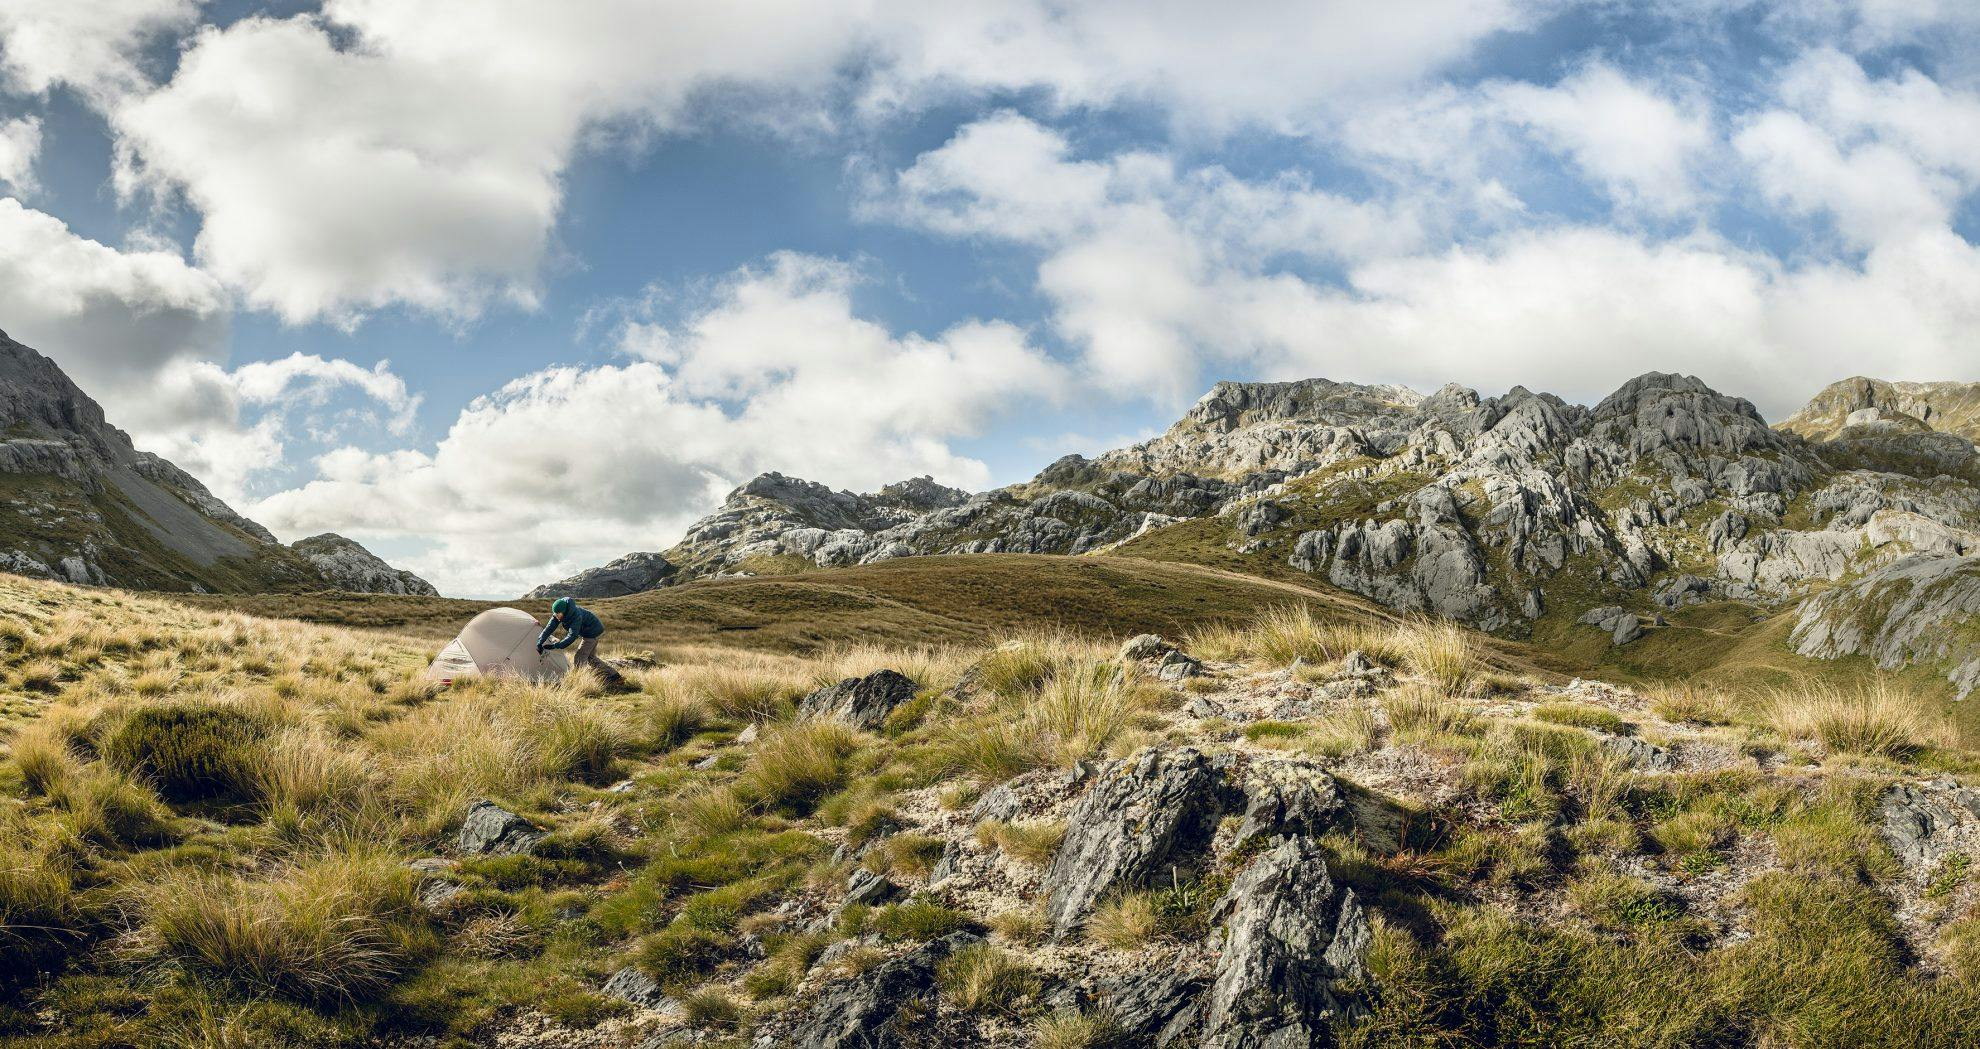
Photo setting for this image: ISO200, 16mm, f8, 1/640s
– Dennis is a Christchurch photographer and teaches photography at Hero Workshops
