While we all love the gentle pitter-patter of rain on a tent roof, it’s a hard sound to enjoy if the tent isn’t watertight.
Tent seams exist where two cuts of fabric are sewn together and can be vulnerable points in a tent’s design,
allowing water through the tent’s fly.
Most tent seams are factory sealed, meaning they should be ready for a soaking the first time the tent is pitched. Over time though, seams may need resealing.
Some tents are sold unsealed due to the nature of their materials and construction, and campers will need to apply a sealant at home to waterproof their tent.
Macpac equipment designer Holly Gaskin said several of Macpac’s flagship tents – including the four-season Olympus – are unable to be factory sealed because seam tape will not adhere to their silnylon fabrics.
“A positive is that silnylon has a high tear strength, but a negative is that you have to seam seal it yourself,” she says.
Whether seam sealing for the first time or touching up your old tent, here’s how you do it.
Prepare your canvas
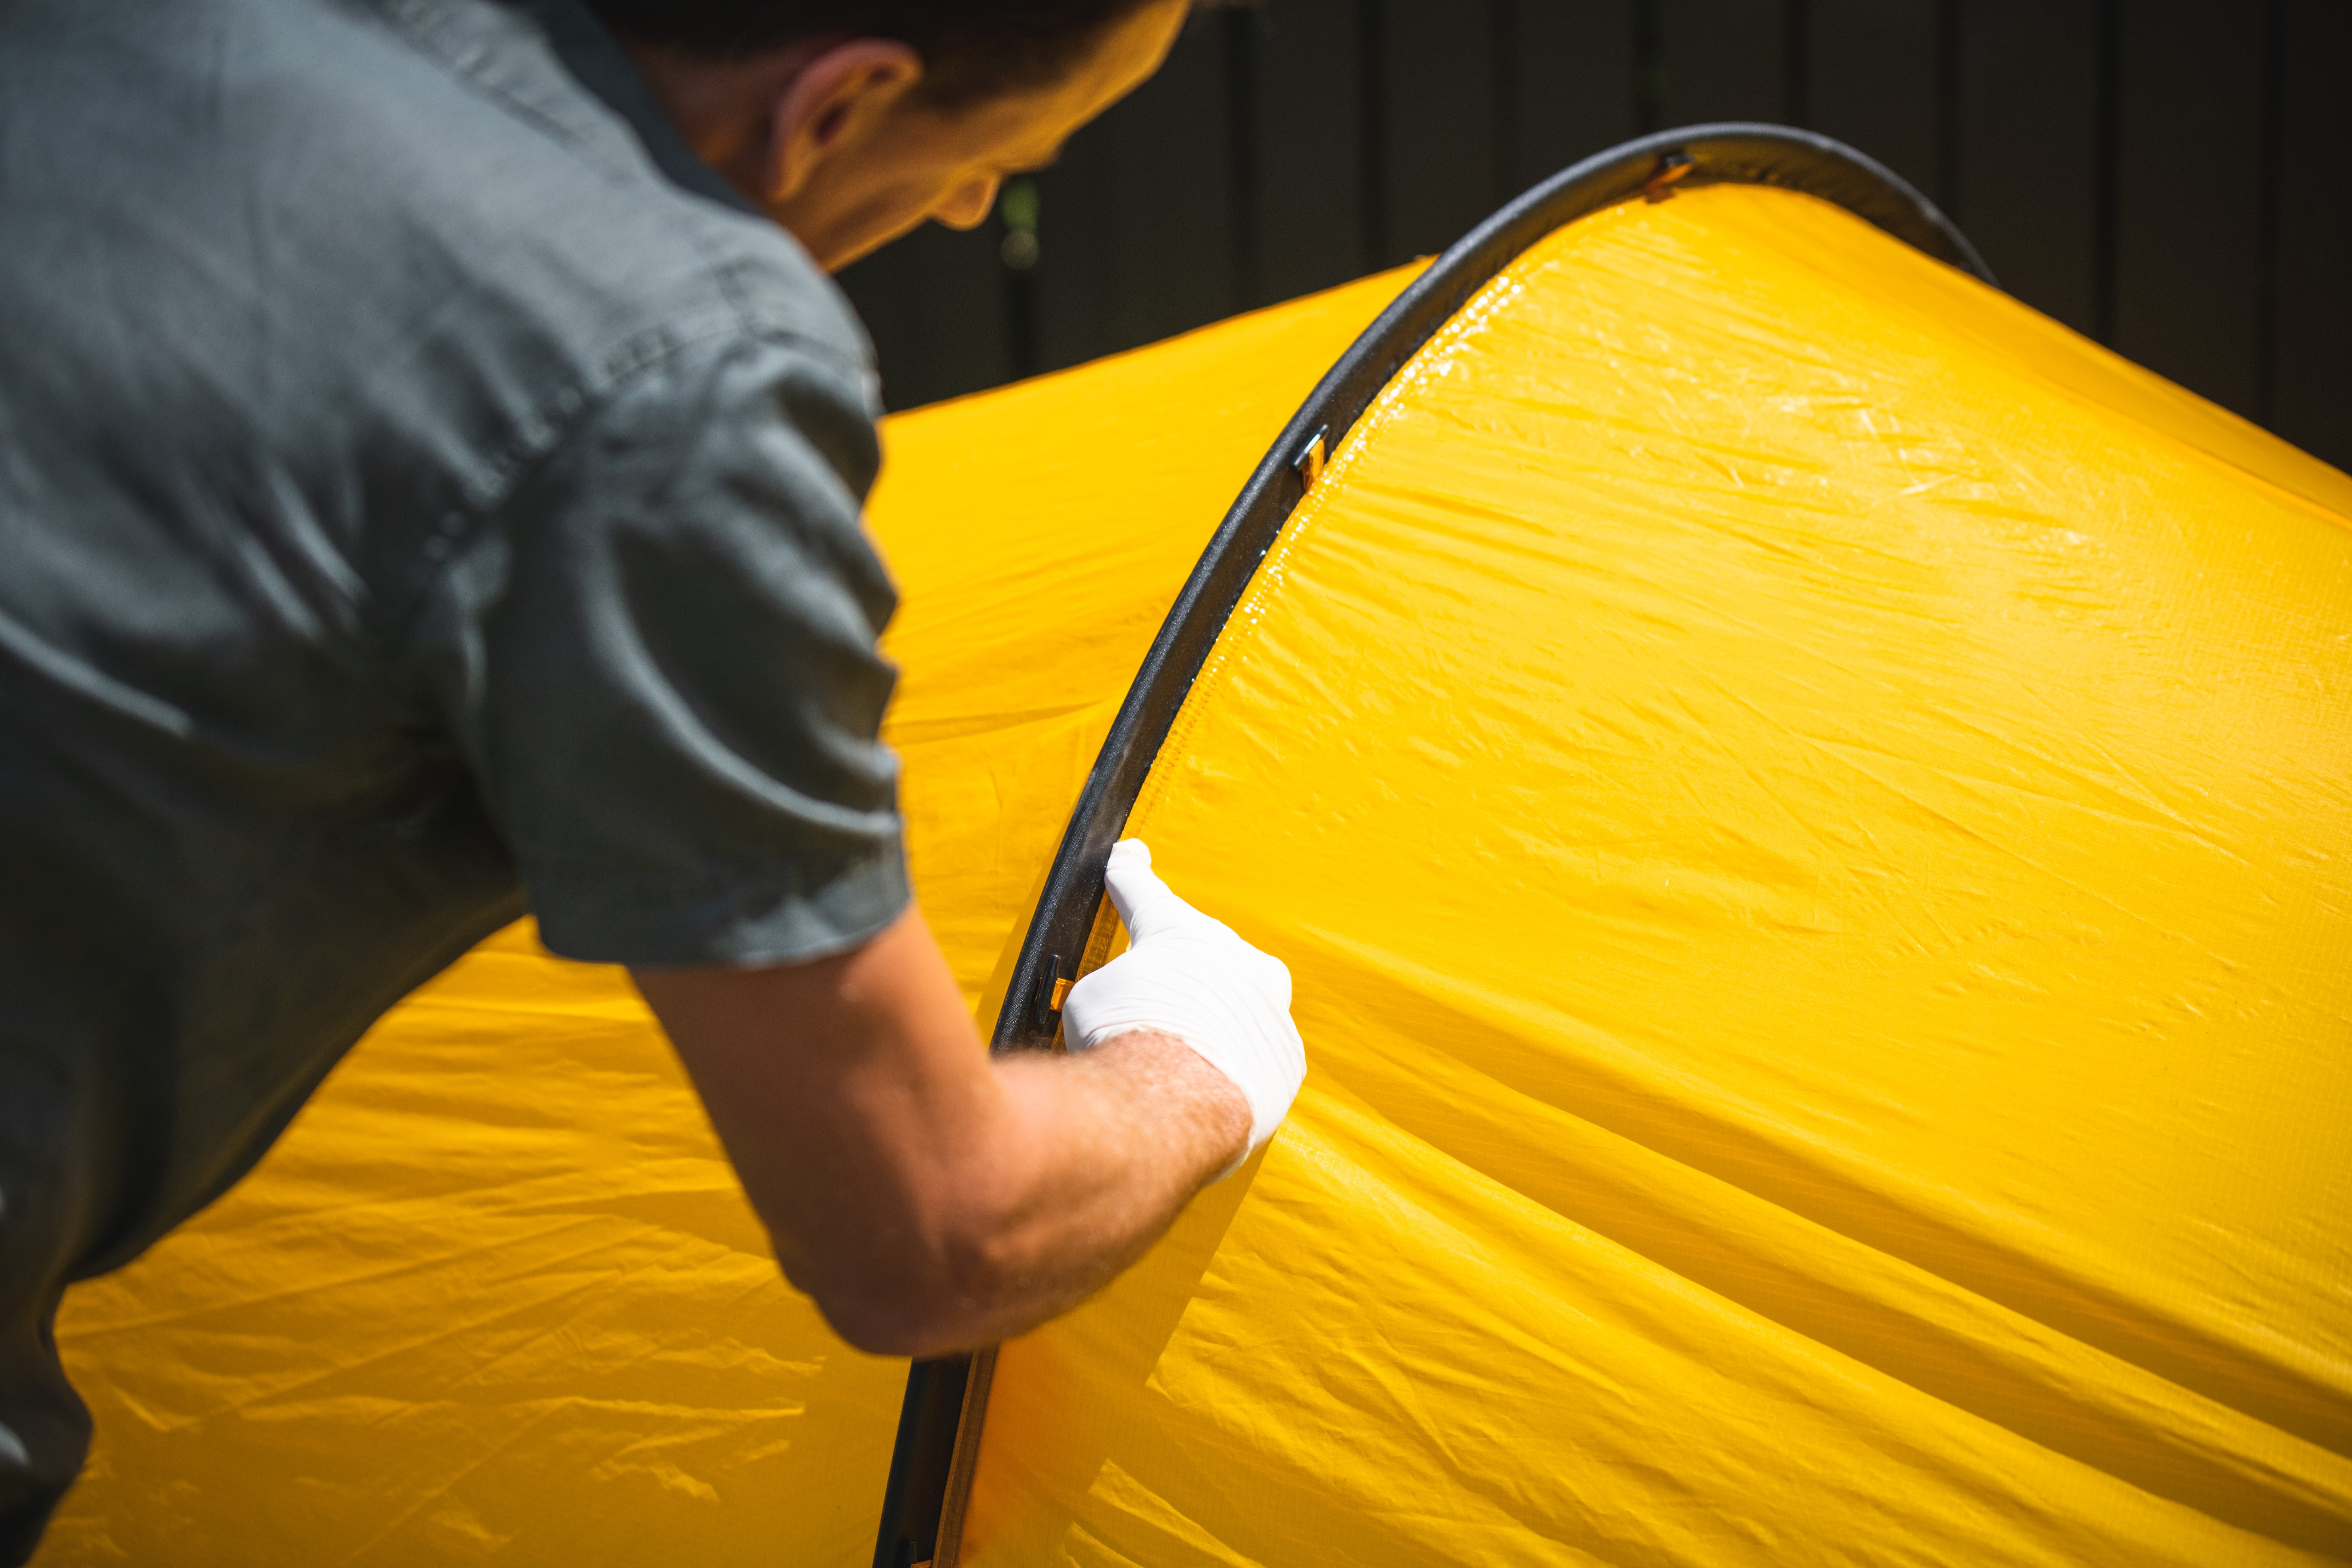
Wait for a sunny day and erect the tent. Silicone-based sealants can take up to 24 hours to dry, so fine weather is essential – unless you have a well-ventilated workspace to work in, such as a garage or carport. Invert the fly and pull it taut. While you can seam seal either side of the fly, Gaskin recommends applying sealant to the inside to keep your tent looking neat.
To ensure best results, first use alcohol wipes to clean the areas to be sealed.
Seal the deal
Once clean and dry, begin seam sealing.
Some sealants – including Gear Aid’s Sil Net – are sold with a soft application brush, but there are plenty of ways you can apply the sealant.
“You’re better to run the tube along the seam, and spread it with the brush,” Gaskin says. Alternatively, use a popsicle stick or a rubber-gloved finger.
According to Gear Aid’s Scott Brown, a dash of mineral turpentine can be used to dilute their silicone seal products for an easier spread, but be careful not to over-dilute the solution.
Outdoor retailer Living Simply’s tent expert Aidan Vale said your DIY job won’t look like a factory seal – and that’s okay. “It’s always going to look a bit messy, but it should perform just as well.”
If you’re desperate to keep it neat, use masking tape on either side of the seam to isolate your sealant and give a perfect edge.
Vale said it’s vital to keep the tent as taut as possible and to be careful not to let the fabric fold and stick to itself. “It’s quite time-consuming, and you don’t realise how many seams are on a tent until you have to go through every one of them,” he says.
Use only a thin coating, and ensure you cover every seam. If the sealant runs or dribbles, you have used too much.
Leave to dry
Once happy with your application, leave the tent up for 24 hours to allow the sealant to cure. You can tell it’s dry when it’s no longer tacky to touch.
To test your handy work, Vale suggests giving your tent a thorough dowsing with the garden hose.
View our video tutorial showing how to seam seal your tent
https://www.youtube.com/watch?v=6MSeyP5J1HQ