If you want to stay for an extended time in an exposed place, like the summit of Mt Ruapehu or the Olivine Ice Plateau, then take the time to burrow into the snow.
But before you commence digging, you need to think like a West Coast miner. Consider the hazards: Is there a chance of being avalanched or being hit by rock fall?
You will get tired and you will get wet from sweat and melting snow, so strip down to just one layer of thermals and put your storm jacket and pants on. It is almost impossible to dig a decent snow cave without shovels and usually a good solid one at that.
Choosing your site is important. You want to locate the entranceway facing the prevailing wind so the tunnel will be kept clear of snow. If you have an avalanche probe pole, check the depth of snow is adequate and whether there are any large rocks in the way. Digging using two or more people is best because even though you get wet at least you stay warm. Depending on snow conditions and enthusiasm it can take 3-4 hours to dig a roomy cave.
Once you’ve chosen your site, position yourself and your partner about two arms widths apart with one person higher than the other. This higher person digs straight into the snow to construct the cave. The cave digger pushes the debris behind them, sealing off what will become the living area. The other person tunnels in and up to meet the cave digger. They are the one making the entranceway and will keep pushing the snow out and away down the slope.
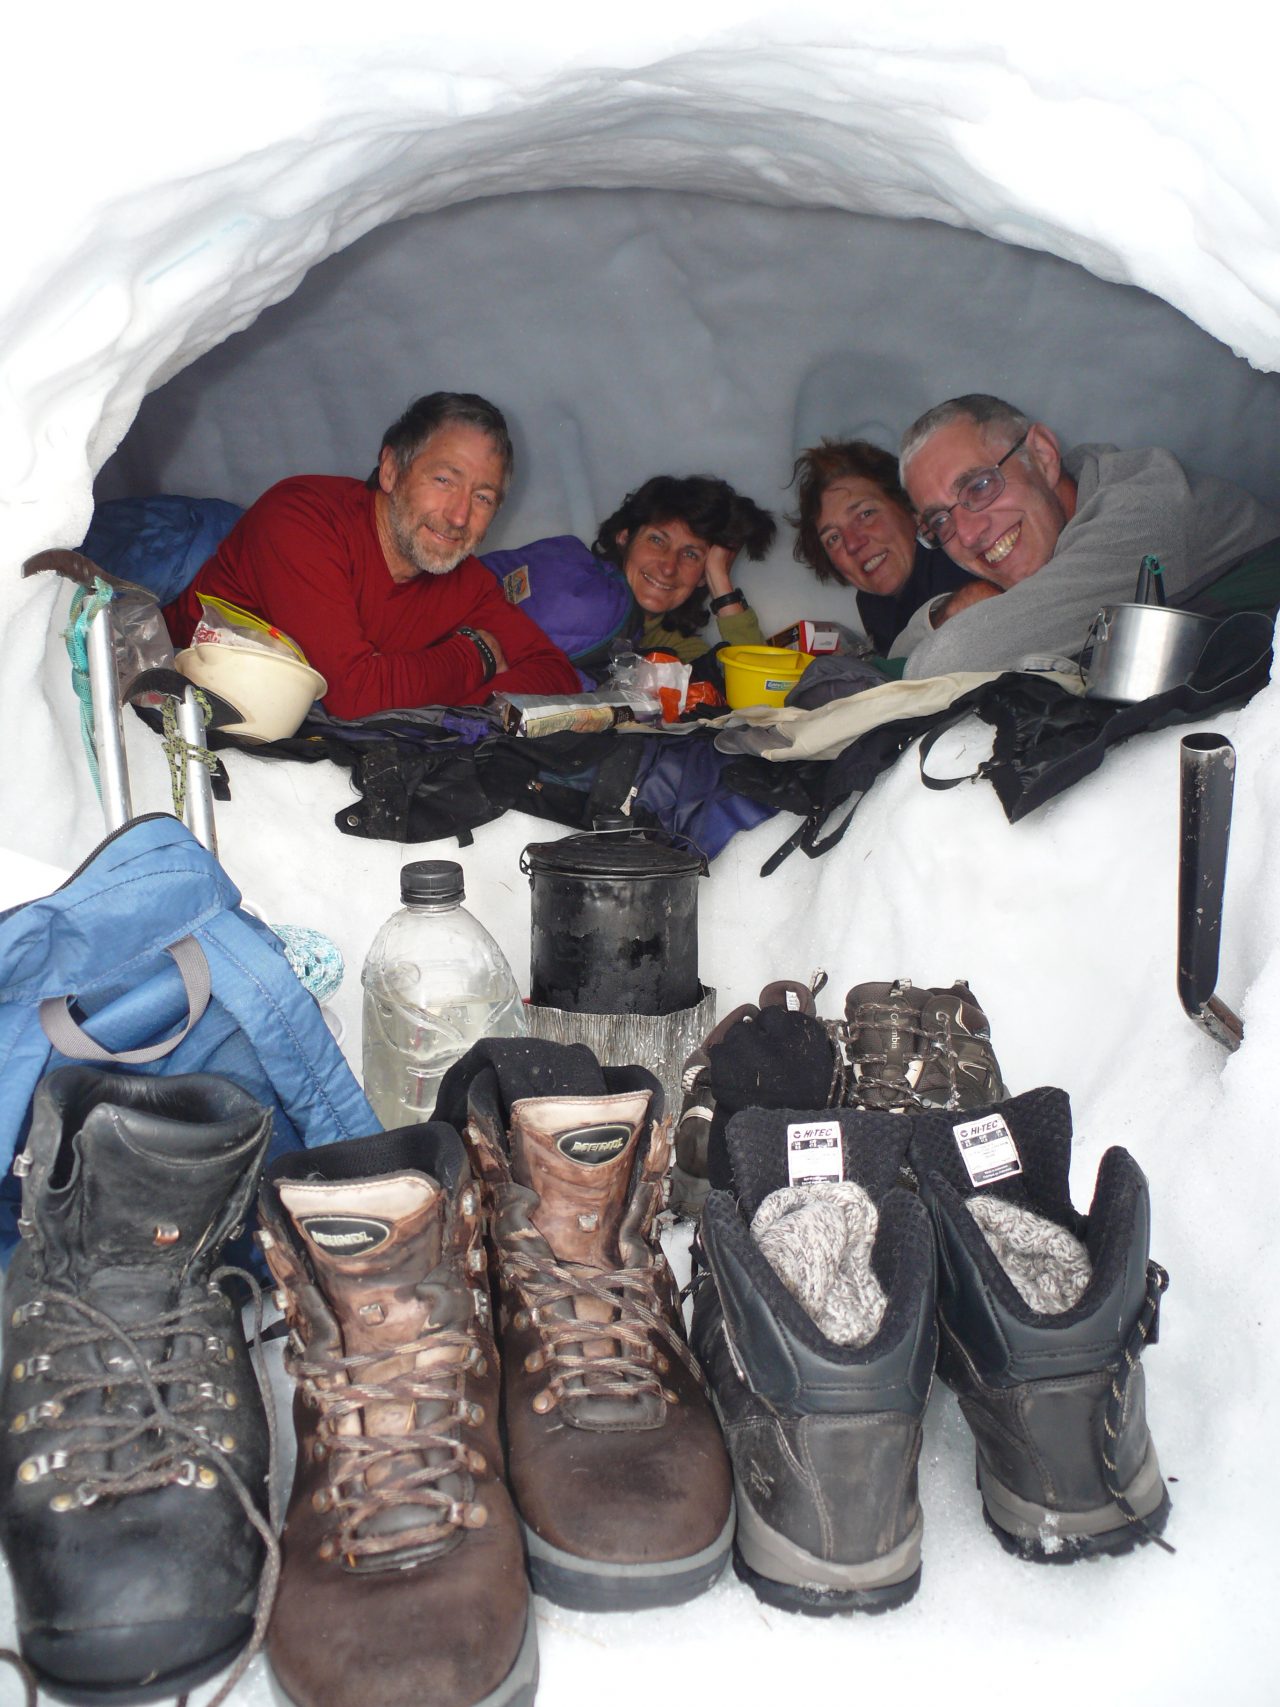
The reason for tunnelling upwards to the sleeping platform is to trap warm air. A well-constructed cave will usually hover around zero degrees Celsius, even if it is in the minuses outside.
Make sure the interior of the cave is dome-shaped, so melting snow drips down the sides, not on you. Ventilation holes to the outside are essential as cooking in caves can cause deadly carbon monoxide poisoning. Keep a shovel inside to dig yourself out if the entrance becomes blocked.
A snow mound can be made if you don’t have a snowdrift or steep enough slope to build a cave. Lay your packs in a heap and pile snow onto them to create a dome. Compress the snow as it goes onto the pile with the shovel or by stomping on it. Even loose granulated snow will compress over time. Once the dome is big enough, tunnel down then up, pull out your packs out then shape the interior. Site the entrance facing the wind. Be careful not to make the walls too thin and always make a ventilation hole.
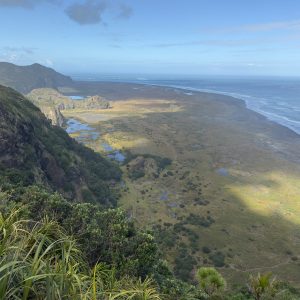
Travelling after a snowstorm when the track has become icy or covered in snow can be very risky. In times like this it is better to stay put – snow rarely lasts long in summer once the sun comes out. If you do decide to travel in snow without an ice axe, take extreme care on, or avoid altogether, sections of track that have a bad run-out such as a bluff, nasty boulder field or a creek. All are unpleasant to fall into.
Maybe you’ve packed a light rope, a couple of carabiners and some lengths of webbing which you can make into a harness. With this lightweight equipment you could set up a belay which you and your companions could safeguard each other through any tricky spots.
Even if it hasn’t snowed, wet tussock is ‘death on a stick’. It can be as slippery as snow sometimes. Dead tussock material gathers under the live plants and makes a surface that is often hard to see. If you lose your footing on this layer then the live tussock becomes like a hydroslide. And if you’re wearing waterproof clothing the chances of stopping are slim. Confronted with a tussock slope like this, face the hill and down-climb by holding onto clumps of tussock.
Whitney Thurlow, a Wanaka-based UIAGM guide who runs guided tramping trips over Rabbit Pass advises learning some basic rope handling skills beforehand. “Practise tying the correct knots, learn how to do an Italian hitch (a belay knot) and have a plan of where you’re going to belay,” Thurlow says. “A good way to arrange an anchor for a belay is to put a sling around a large rock and then bury it among other rocks, effectively making a deadman.”
34 years of inspiring New Zealanders to explore the outdoors. Don’t miss out — subscribe today.

Questions? Contact us