Your ability to light and maintain a fire in a survival situation cannot be over emphasised. It will provide a means of keeping warm, allow you to cook and boil water, provide light and smoke to attract attention and is a great moral booster.
Making a fire is an essential skill that needs to be practised regularly with different materials and in different conditions.
Before you even consider lighting your fire, you must prepare all materials correctly. The three elements you need to build your fire are tinder which is used first, kindling and fuel.
The tinder must be dry and easily combustible. Good examples are toi toi bark teased into a ball, dry grass, wood shavings and cotton wool and vaseline. Kindling should be around the thickness of your finger and is used between the tinder and fuel. Small teatree twigs work well.
The fuel is what sustains your fire and should be no thicker than your wrist. Hard woods are best as they produce good coals as opposed to soft woods that will produce ash.
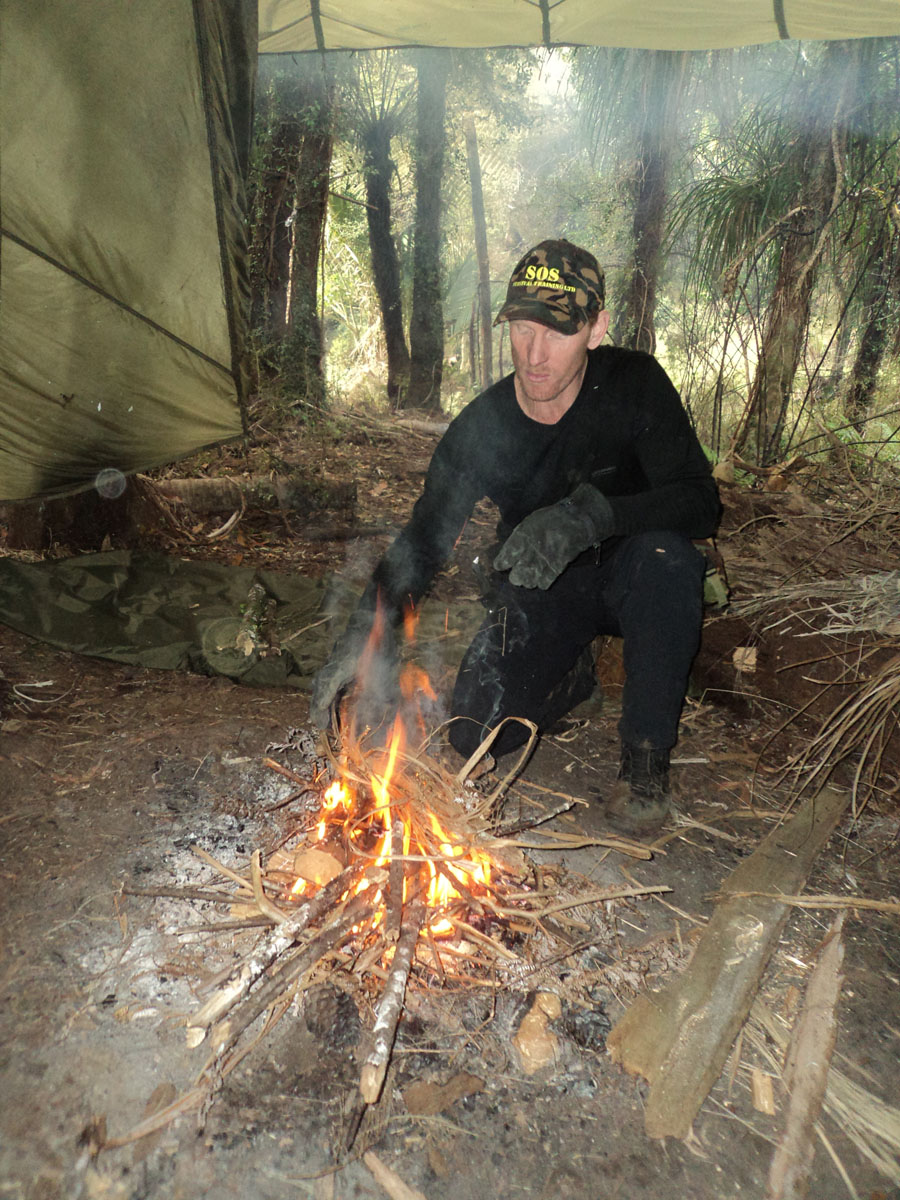
Once you are happy you have collected all your materials, you will need to clear an area for your fire. The fire should be as close as practical to your shelter, have a log reflector to reflect heat back into your shelter to keep you warm, a drying rack to dry tinder, kindling and fuel and it must be weather protected.
Lighting your tinder. Make sure you have at least two means of lighting a fire – waterproof matches, lighter or a flint and steel. I recommend carrying a small fire set tin on you at all times so you can get a fire going regardless of the materials available or the weather conditions.
Constructing and lighting your fire
This method is tried-and-tested and works well in all conditions.
Step One: Use a dry base on the ground to place your tinder on. Light your tinder using a match or flint.
Step Two: Once the flames start to burn through the tinder, place the kindling on top, being careful not to mother it. A stick placed under material can be lifted to promote more oxygen if needed.
Step Three: Once the flames start to grow in intensity add slightly larger pieces of kindling.
Step Four: When the fire has taken hold place larger fuel on the fire in a teepee construction. Once established maintain your fire to meet your needs.
– Stu Gilbert is a former Air Force survival instructor now running SOS Survival Training

34 years of inspiring New Zealanders to explore the outdoors. Don’t miss out — subscribe today.

Questions? Contact us