Get to know your compass

May 2024

Read more from

May 2024

Photo: Mark Watson

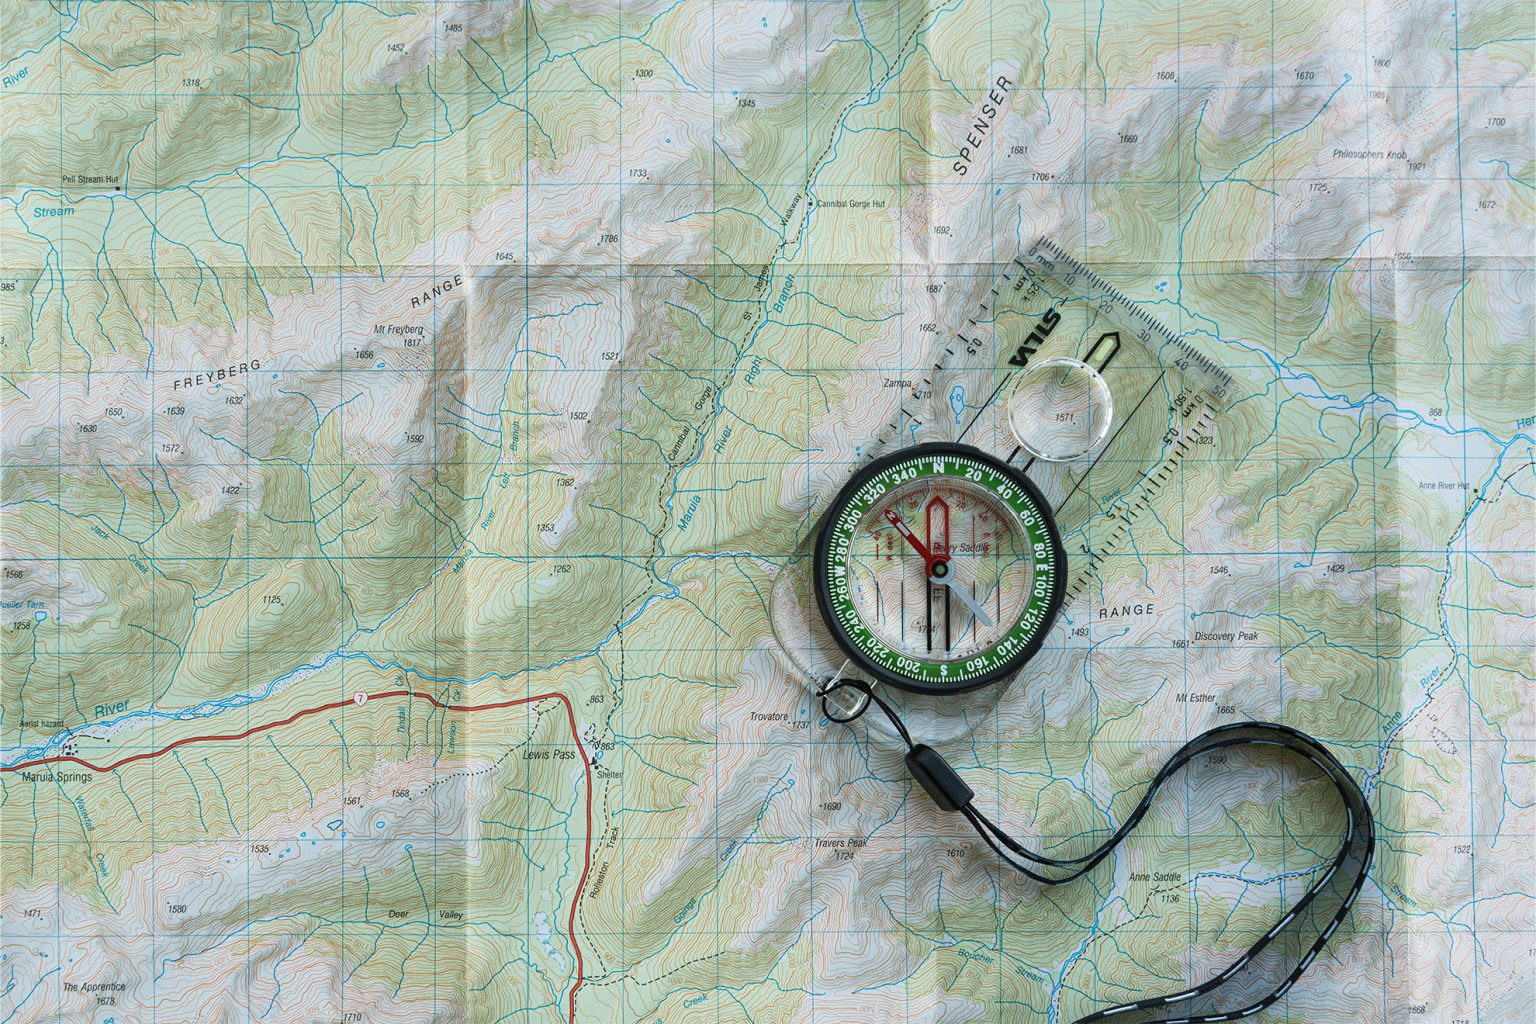
Your compass is a powerful, pocket-sized navigation device, and it’s an essential piece of equipment.

Most compasses weigh less than two AA batteries yet require none, making them reliable at all times and in any weather. A compass can be used as a primary navigation tool paired with a topo map, as backup or in combination with a GPS. It’s important to get to know your compass, its parts and functions.

Using your compass

Here’s how to use a compass in a common navigation scenario: taking a bearing from the map when you know your location and want to travel to another location that may or may not be visible to you.

1. Align to destination: With the map level, align the long edge of the compass between your location and the place being travelled to. Ensure the direction of travel arrow is pointing towards the destination (i.e. that the compass is not upside down).

2. Orient bezel: Rotate the bezel until the orienting lines on the compass are aligned with the longitude (vertical) grid lines on the map. The orienting arrow should also be pointing north on the map. 

3. Read bearing: The index line indicates the bearing that has been captured. 

4. Turn: Hold the compass level and turn your body until the red end of the needle is inside the orienting arrow (if using an adjustable declination compass); or see step 5.

5. Compensate for declination: Turn yourself further so the compass arrow points to the declination stated on your topo map (for example 23°), or the declination scale.

6. Look: Take a visual landmark (handrail), such as a tree or rock outcrop, and start moving. 

Orienting/north arrow
The red arrow on the bezel between the orienting lines is used for aligning to the map’s grid lines. Depending on how you adjust for declination, you also position the compass needle here while following a bearing.

Magnifying glass
Allows a closer view of details for map reading, such as close contour lines and topographical features.

Centimetre rule
For measuring distances on maps of different scales that don’t match the compass’s Romer scales.

Direction of travel arrow
Indicates the direction you’ll travel while following a bearing.

Romer scales
These scales, on either side of the baseplate edge, are for making accurate six-figure grid references on 1:25,000 and 1:50,000 scale maps. Some compasses have different scales, so be sure that one scale matches your map scale.

Index line
This small white line is fixed beneath the graduation ring as an extension of the direction of travel arrow. It marks the bearing, on the graduation scale, that you set by rotating the bezel.

Declination scale
Used to compensate for the difference between magnetic north, which is where your compass points, and grid north, which is the north indicated by the vertical (longitude) lines on the map. You allow for it after taking a bearing, but on some compasses you can set the orienting arrow to the angle of declination shown on the map.

Orienting lines
These parallel lines are used to align the bezel to the longitude lines on the map for setting grid bearings.

Lanyard
When navigating in the field, it’s important to have the compass handy. Sling the lanyard around your neck so you can refer to the compass often when following a bearing or taking one. Some models feature a measuring scale on the lanyard.

Compass needle
The north end of the needle is red and always points to magnetic north. It usually has a luminous marker and sometimes an ‘N’. The reverse end of the needle is usually black or white. Good-quality compass needles are calibrated for either the northern or southern hemisphere, so make sure you have the right compass for your zone or buy a global model.

Baseplate
The body of the compass, which is placed flat on the map or held in your hand, is typically clear plastic with straight edges for aligning map features intended to travel between, and for making measurements. Some models have rounded corners.

Luminous markings
The direction of travel arrow, orienting arrow and compass needle all glow in the dark to make night navigation easier.

Bezel
Where the magic happens. The bezel rotates on the base plate. It holds the needle, which swings on a pivot. The bezel is filled with liquid that dampens vibration to stabilise the needle after movement, for accurate reading.

Graduation ring
The bezel rotates on the base plate and around the mounted needle by way of a ring that is rubberised or indented for grip. It’s marked with the cardinal points (north, south, west, east) and a graduation scale in 2° increments. North is at 360°/0° and south at 180°.

Mark Watson

About the author

Mark Watson

Wilderness gear editor Mark Watson divides his workdays between graphic design, writing and photography. His passion for tramping, climbing, cycling and storytelling has taken him all over Aotearoa and the world in search of great trails, perfect moves and epic light. He has published four books and his photographs have featured in numerous publications. Especially motivated by long distance travel, he has tramped Te Araroa and cycled from Alaska to Tierra del Fuego.
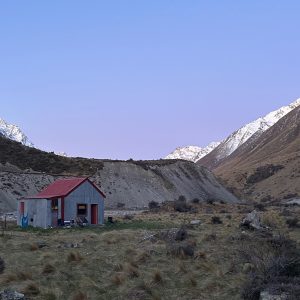
More From Skills

Related Topics

Similar Articles

You can always change your plans

Back to school

Lessons learned the hard way

Trending Now

Every Tararua hut reviewed and ranked

Apply for the Shaun Barnett Memorial Scholarship

Five ways to Lake Angelus

Mt Somers via Te Kiekie Route, Hakatere Conservation Park

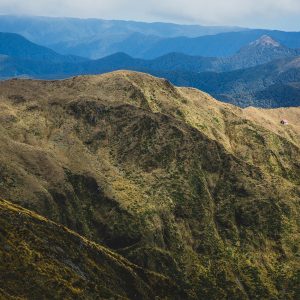
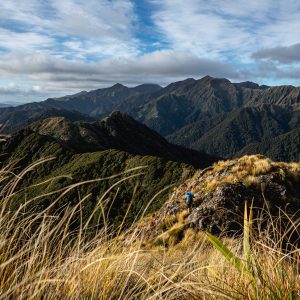
The Tararua’s forgotten traverse
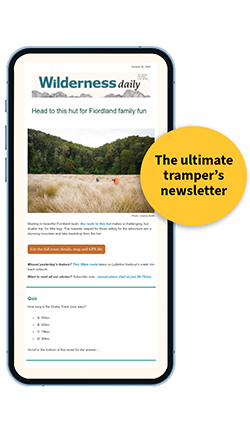
Subscribe!
Each issue of Wilderness celebrates Aotearoa’s great outdoors — written and photographed with care, not algorithms.Subscribe and help keep our wild stories alive.

Join Wilderness. You'll see more, do more and live more.

Already a subscriber?  to keep reading. Or…

34 years of inspiring New Zealanders to explore the outdoors. Don’t miss out — subscribe today.

Your subscriber-only benefits:

All this for as little as $6.75/month.

1

free articles left this month.

Already a subscriber? Login Now