


- Area
- Tararua Forest Park
- Distance
- 25.5km
- Total Ascent
- 2892m
- Time
- Car park to Dundas Hut, 10hr, Dundas Hut to car park via Cattle Ridge, 10hr
- Grade
- Moderate/Difficult
- Accom.
- Herepai Hut (standard, 10 bunks); Dundas Hut (standard, six bunks); Cattle Ridge Hut (standard, five bunks); Roaring Stag Lodge (standard, 12 bunks)
- Access
- Putara Road End
- Map
- BN34
- GPX File
- dundas-hut-2016 (gpx, yo 69 KB)
- Your device does not support GPX files. Please try a different device.
If you’re seeking a feeling of remoteness, without having to lug a heavy pack for days, then the route linking Dundas Ridge and Cattle Ridge in a loop from Putara Road end over two long days, could be the ticket.
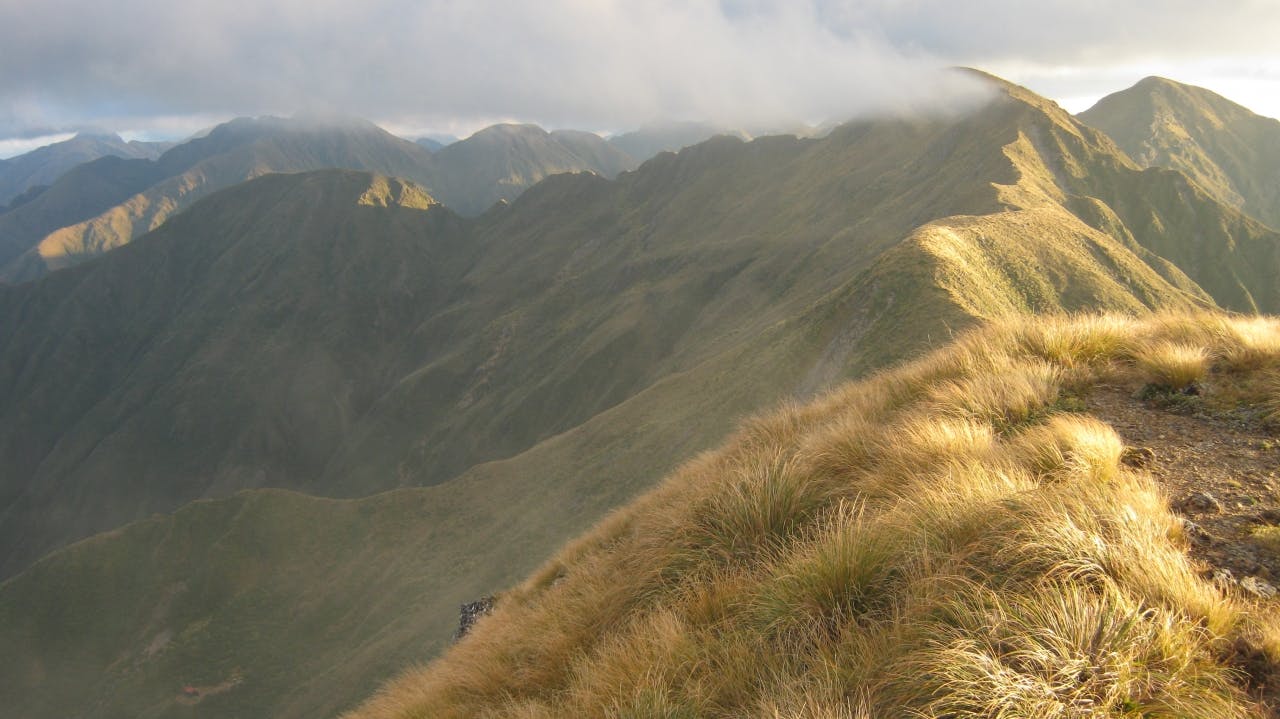
The loop covers rugged country, with a lot of climbing and descending, plenty of time on the tops and magnificent viewpoints. With four huts along the route, there is the option to slow down and take your time, too.
On a weekend dash, the obvious place to overnight is the midway point at Dundas Hut. Your first view of the hut, if coming from 1125m Herepai (doing the loop anti-clockwise) is just before the summit of Pukemoremore, 1474m, the highest point on the route. From here, Dundas Hut is a tiny red-roofed spec, dramatically accentuating the scale of the landscape.
Nestled in a cirque 250m beneath Pukemoremore, the hut offers a sense of remoteness. The sun, setting on the tops above, is lovely and the hut itself, with just six bunks, is spartan and rustic. Perhaps the only downside is the steep descent from the ridge at the end of a long day.
It’s a small price to pay for the dramatic vista that unfolds once back on the ridge. Both sides drop steeply away. At eye level, directly across the narrow and densely bush-clad Ruamahanga Gorge below is Cattle Ridge. This will be your high point on day two and, by the time you reach it, you’ll probably be glad to know that most of the climbing on this journey is done.
