


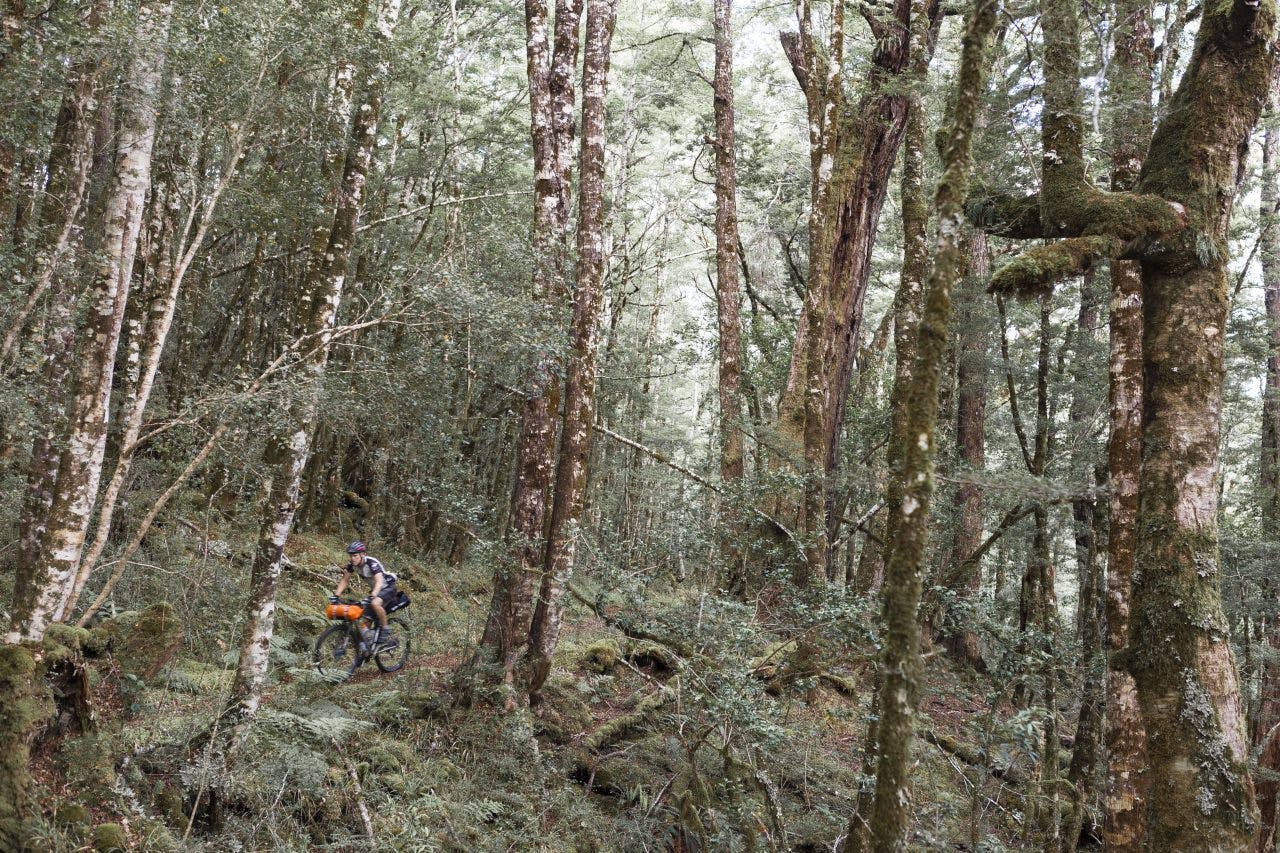
Bikepacking is essentially tramping by bike and is a fun way to cover a lot of ground.
Bikepacking is a new name for an old sport: multi-day mountain biking with an emphasis on travelling light and having fun. Ever since the late 1800s, adventurous cyclists have strapped overnight gear onto bikes and headed into the wilderness. The mountain biking boom of the 1990s allowed a new type of bike adventure as fat tyres, better brakes and stronger frames opened up new possibilities for adventure: four wheel drive tracks, single track and rough terrain could now be tackled with confidence and a lot more comfort.
As mountain biking has become increasingly specialised, whole new categories of bikes and products have emerged, including bikepacking specific luggage – reducing reliance on racks and panniers – and ‘plus’ bikes with wider rims and even fatter tyres. Technology too has opened new possibilities: digital mapping, GPS and the availability of trail information have made it easier to find and plan new adventures.
Bikepacking can be thought of as cycle touring and tramping rolled together – a kind of tramping by bike, although occasionally it’s more of the tramping and less of the biking! Requisite skills – as with many outdoor pursuits – are self reliance, navigation experience and backcountry savvy, but also bike maintenance.
No other mode of transport is as energy efficient as the bicycle, which creates the potential for a lot of ground to be covered in a fun and hugely satisfying way.
Bikepacking fits into three categories:
1. Multi-day mountain biking
Think overnight mountain biking with an emphasis on rough tracks and singletrack: two to five days on the bike (but can be longer), carrying the bare minimum of equipment to enable more comfortable travel over rough terrain and/or steep or long climbs. Depending on how technical the riding is, either a 27.5+ or full suspension bike may be most suitable, but rides can be tackled on any decent mountain bike. Classic rides in this category are Heaphy Track, Old Ghost Road and the Great Southern Brevet event (a 1100km ride around the South Island).
2. Dirt and gravel roads
This very broad category includes multi-day and longer tours where the riding style is generally less technical and the emphasis is closer to cycle touring, but with a bike and system suited to the rigours of gravel, unformed roads and unpaved cycle trails. Any reliable mountain bike will do for this style of riding, but 27.5 inch and 29 inch are the most popular wheel sizes. Classic rides in this category include the Kiwi Brevet event and Tour Aotearoa (a 3000km trip from Cape Reinga to Bluff).
3. Long distance touring
Bikepacking equipment has redefined the typical set-up for long distance touring and many riders are now opting for a system that’s sometimes a hybrid of both bikepacking luggage and traditional rack and panniers. This enables a greater diversity of terrain to be tackled, while keeping weight down.
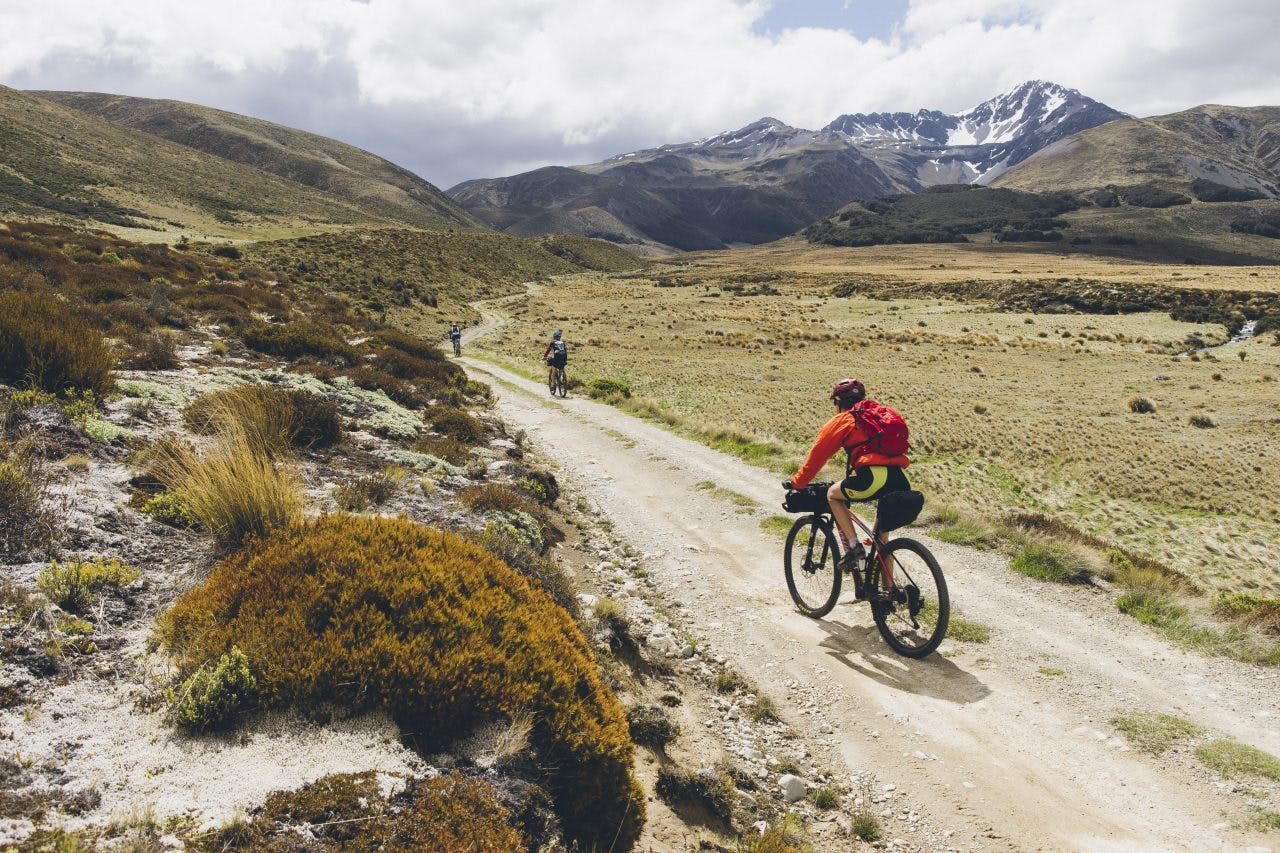
Bikepacking runs the gamut of trips – gravel paths to long-distance touring. Photo: Mark Watson
Choosing your bike
Bike Any reliable mountain bike will do – bikepacking luggage will fit older style bikes with no problem. A suspension fork will take the shock out of a rough road and improve your traction and control. These are ideal for shorter rides, but for long distance bikepacking trips, they are generally less desirable as the fork movement reduces your efficiency and it’s one extra moving part that can wear out. For some rides, a full suspension bike might be ideal.
Tyres The rule of thumb is to fit the fattest tyres you can to your bike, while maintaining at least a few millimetres of clearance. For all-around bikepacking, the small speed gain from a narrow tyre on a smooth road will never outweigh the comfort and traction gained overall by a large tyre. Aim for tyres of no less than two inches, (ideally 2.35–2.4 inches) with a fast rolling tread for most kinds of riding. If you’re interested in rougher and more technical riding, consider a tyre with beefy, trail-riding tread and heavier sidewalls.
Tubeless The benefits of tubeless tyres can’t be overstated. This system replaces the inner tube with an air-sealed rim and sealant liquid which seals most small punctures. Key advantages are lower tyre pressures for greater comfort and traction without the risk of snakebite punctures. Well set-up tubeless wheels can last thousands of kilometres without intervention.
Wheels The bike industry has settled on 27.5 inch as being the optimal size for technical handling and smooth rolling. If you are buying a new, all-around bike, this is the size to buy. Larger 29-inch wheels are a popular size for long distance bikepacking and touring but are less suited to really technical riding. Shorter people may find 29-inch wheels unwieldy.
‘Plus’ sized bikes have ushered in even greater possibilities for adventurous riders. These comprise a wider rim and greater frame clearance, allowing tyres of up to three inches to be used. Both 29 and 27.5 wheels are available in ‘plus’ sizes. Running tyres between 2.5 and three inches reduces the need for a suspension fork (and hence the likelihood of breakages) increases traction and comfort massively and opens up otherwise unrideable terrain such as sand, snow and very loose or rocky trails.
At the extreme of the wheel size spectrum is the ‘fat bike’, running tyres of four inches plus. While fat bikes excel on sand, snow and really gnarly terrain, they’re less suitable for all-around riding due to the extra weight and drag of the tyres.
Setting up your bike
Modern mid-level components (or better) are suitable for bikepacking.
Brakes: Disc brakes are best as these give tons of braking power in all conditions without wearing out your rim. For long distance tours, mechanical brakes, rather than hydraulic, are worth considering for ease of maintenance.
Grips: Comfortable grips make a difference during long days on the bike: consider anatomic grips that spread the load over your hand.
Saddle: This is cruscial. Test your saddle for comfort on shorter rides before heading away for a whole weekend. Saddle trouble is the number one factor that can turn a weekend of fun into a weekend of pain.
Drivetrain: Most new bikes come with 1×11 drivetrains, which are great for simplicity, but may limit your lowest gear. Many riders will benefit from two chainrings up front as this gives a greater range of gears. Consider the type of riding you want to do and how much weight you might carry (tough climbs and a heavy load necessitate easier gearing for most people – which two chainrings will provide).

Surly Ogre (29 inch) with bikepacking bags and a rear rack: a good entry level setup. Photo: Mark Watson
Carrying your gear
Dedicated bikepacking luggage has revolutionised overnight mountain bike rides. The benefits of ‘soft’ bike luggage – bags that fit directly on the bike without steel racks) are threefold: the load is distributed over the bike, improving handing; there is ample clearance for scrub, deep ruts and large rocks, and soft luggage doesn’t rattle like panniers often do.
A framebag, handlebar harness and an oversized underseat bag allow plenty of storage for a lightweight trip of a few days. If you already own a rear rack, the framebag and handlebar harness are a good first purchase; while the rear rack can carry a bundle in a dry bag.
Top tube bags or feedbags (which mount on the handlebar) are ideal for snacks-on-the-go, multitools and items you want to access quickly.
Route planning and navigation
As with any outdoor adventure, some forethought regarding your route will go a long way towards ensuring you have a good time. Consider prevailing winds, overnight locations, shelter and river crossings. It’s a good idea to have a plan ‘B’ in case you get held up and don’t make it to your intended destination.
Many bikepackers eschew paper maps in favour of handheld GPS units or smartphones preloaded with high resolution maps. But it’s a good idea to have a backup map; either by way of another device loaded with maps, or a paper map. Websites such as Bikepacking.com, Ride With GPS and Google My Maps allow downloading of GPX files of many rides, or you can plan and export your own and these can be uploaded to your device for worry-free navigation. You’ll have a clear idea of overall distances and elevations using this method which helps planning and reduces surprises.
Smartphones chew through their battery more quickly than a dedicated GPS unit, so consider ways you can reduce usage or charge on the go.
Mounting your GPS/smartphone on the handlebar will allow smooth navigation on the ride and no missed turns.
How and what to pack
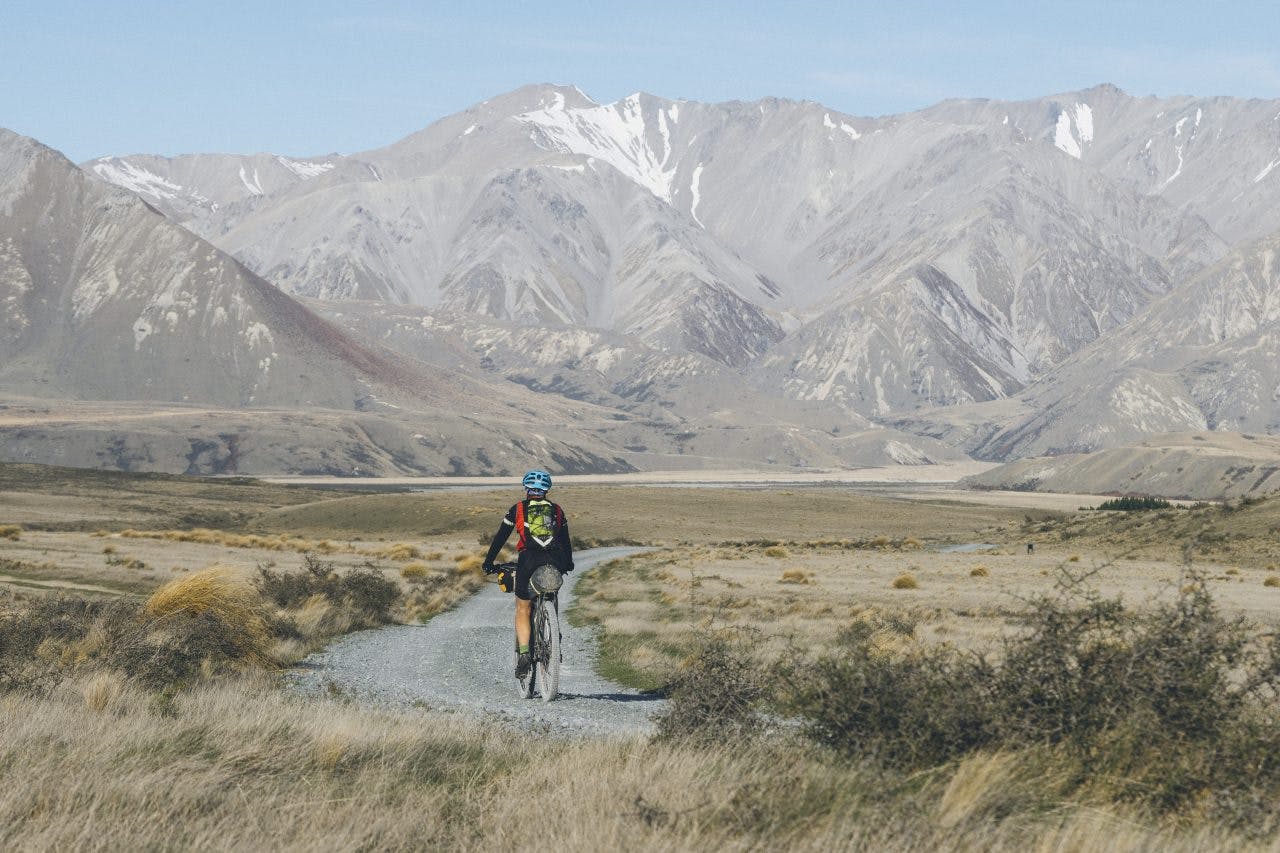
Keep your bike weight down for moments like these. Photo: Mark Watson
’Pack light’ is the mantra for a bikepacking adventure. Steep hills are no fun on a heavy bike and if you have to get off and push or carry your bike over obstacles, a lighter bike will be much more maneuverable. The bike will handle better too.
Some bikepackers opt to not carry a stove, but if you do carry one consider a compact personal cooker like MSR’s WindBurner or a Jet Boil, or any lightweight stove/pot combination.
A light sleeping bag and tent also help and there are many ultralight options around. It’s possible that a fly or bivvy bag will suffice if you’re not in a sandfly-prone area. But planning your ride around available accommodation can mean leaving the tent at home.
Duct tape and a few beefy cable ties are handy items for field repairs.
The handlebar harness is the slowest thing to unpack and hardest to access, so it’s a good place for your tent, sleeping bag and maybe an insulated jacket.
The underseat bag is ideal for stove, food and extra clothing.
Framebags are perfect for your water, lunch items, spare tube, bike lubricant and bike pump.
Some riders wear a small backpack for more technical two– to three-day rides. The pack is an easy way to carry extra water, camera and other essentials and the bike weight is slightly reduced.
Recommended rides
New Zealand’s potential for everything from bikepacking tours to weekend loops is extensive… pull out a map and start planning.
Timber Trail, Pureora Forest Park
Towering podocarp forest, saved from chainsaws by 1970s activists, makes a memorable start to the Timber Trail. Combining ancient forest, purpose-built trail and tramway, this great entry-level bikepacking ride includes some of the longest and highest suspension bridges in the country. The classic ride covers 85km.
St James Cycle Trail, St James Conservation Area
Close to Hanmer, this intermediate two-day (64km) ride makes a rewarding loop through North Canterbury high country and covers fun terrain. Some rocky sections and steep climbs keep it challenging. There are several options for shorter or longer routing, including starting at Hanmer. Anne Hut is a worthwhile detour, both for a comfortable overnight stop and its beautiful location.
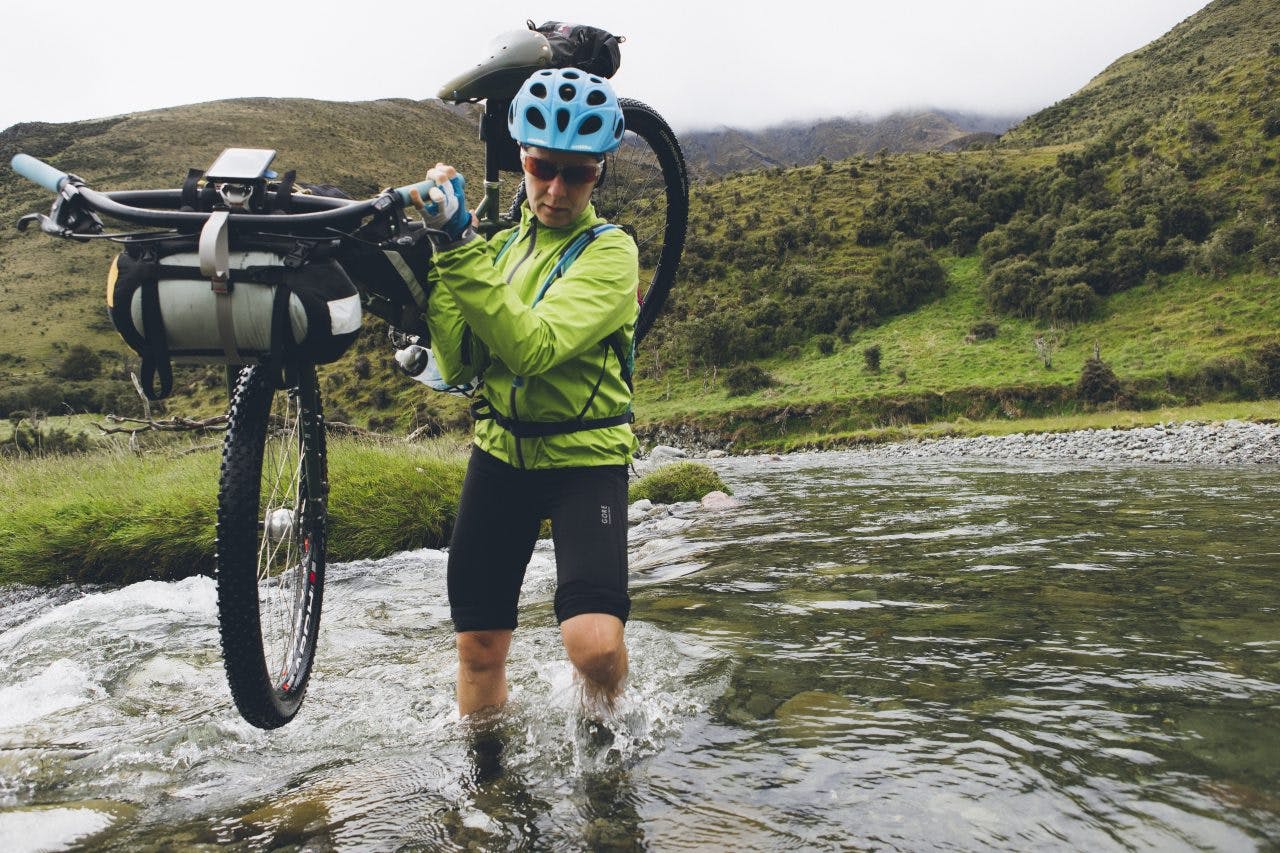
The Waiuta–Big River Track, one of the tougher sections of Tour Aotearoa. Photo: Mark Watson
Mountains to Sea Cycle Trail, Whanganui
With the Fisher Track and Kaiwhakauka Tracks included, Mountains to Sea carves a greatly varied route from the Volcanic Plateau to the Tasman Sea and makes a first rate cycling adventure. Amazing geography and compelling human history underpin this journey to the Bridge to Nowhere and the Whanganui River, where either a canoe or jet boat is necessary to reach Pipiriki. From here, the route continues on pavement to Whanganui, but bikepackers might prefer to complete a loop by heading west towards Raetihi on gravel.
Heaphy Track, Kahurangi National Park
The Heaphy’s beauty lies not only in the incredibly diverse environments it traverses but also in the quality of the riding, which follows an improved tramping track. These days most of the technical riding has been polished from the Heaphy, but its contours and twists and turns still bring delight as it departs montane beech, crosses the alpine Gouland Downs and finally dives towards a remarkable coastline. Several well appointed huts mean you can leave the tent at home. Remember, the Heaphy’s riding season is restricted to between May 1 and November 30.
Old Ghost Road, Buller
The Old Ghost Road’s publicity is well deserved: long sections of this tailor-made mountain bike trail have been built to ride as nicely as possible and yield maximum fun. Like all the best bikepacking rides, it traverses some exceptional country but it’s challenging too, throwing in a fair bit of climbing to make you earn some amazing descents. Frequent huts provide accommodation and shelter in inclement weather.
Tour Aotearoa
The Holy Grail of New Zealand bikepacking, Tour Aotearoa weaves its way from tip to toe of both the North and South Islands over its 3000km length, tackling sand, singletrack, gravel, bike paths, highway and just about everything in between. While the fastest time is just over nine days, riders exploring the length of New Zealand at a more casual pace might expect to take three- to five-weeks, depending on motivation and fitness. Refer to www.touraotearoa.nz for more.
